


Who this guide is for
This guide is for small UK businesses, creators and makers who want to turn their products into gift-ready bundles without the faff.
You’ll learn how to plan kits the smart way: simple checklists, clear pick paths, right-size boxes, and quality control steps that still work when order volumes suddenly triple.
Planning festive kits?
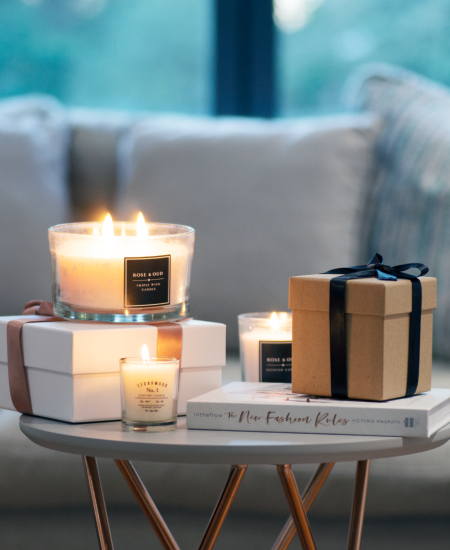
Define the kit (make it unmissable)
A great gift set starts with one simple thing: a clear recipe card for what’s inside. We call this a kitting Bill of Materials (BOM).
This ensures every kit matches, every time, no matter who’s packing.
Copy-ready BOM fields:
- Finished SKU / barcode
- Components: item code × quantity
- Packaging: box code (colour + size), insert trays, tissue/ribbon, tag or card
- Protection: pads, risers, wraps
- Label art: swing tag or sticker (colour)
- Assembly steps
- Quality control checks: weight or count, cosmetic pass
- Target time: seconds per step + total
- Postal band: Large Letter or Small Parcel
- Notes: approved swaps if something goes out of stock
Think of it as your “gift-set blueprint”. No second-guessing, no “oops, forgot the matches”.
Pick-path design (fewer steps = faster kits)
At peak, the packing bench needs a smooth, left-to-right flow that people can follow without thinking.
Simple pick-path layout:
- Box
- Insert
- Main components and products
- Tissue and/or ribbon
- Tag or label
- Scale and quality check
- Shipper box
Pro tips:
- Heavy to fragile: Place sturdy items first to avoid rearranging.
- Pre-kit mini parts: Candle + protective pad in a tray = quick grab-and-go.
- Colour coding: Match ribbon and tissue shelves to kit palettes.
- Visual guides: One-page photo SOP at eye level with a clear “this is correct” image.
Your team should feel like they’re following a conveyor belt made out of common sense.
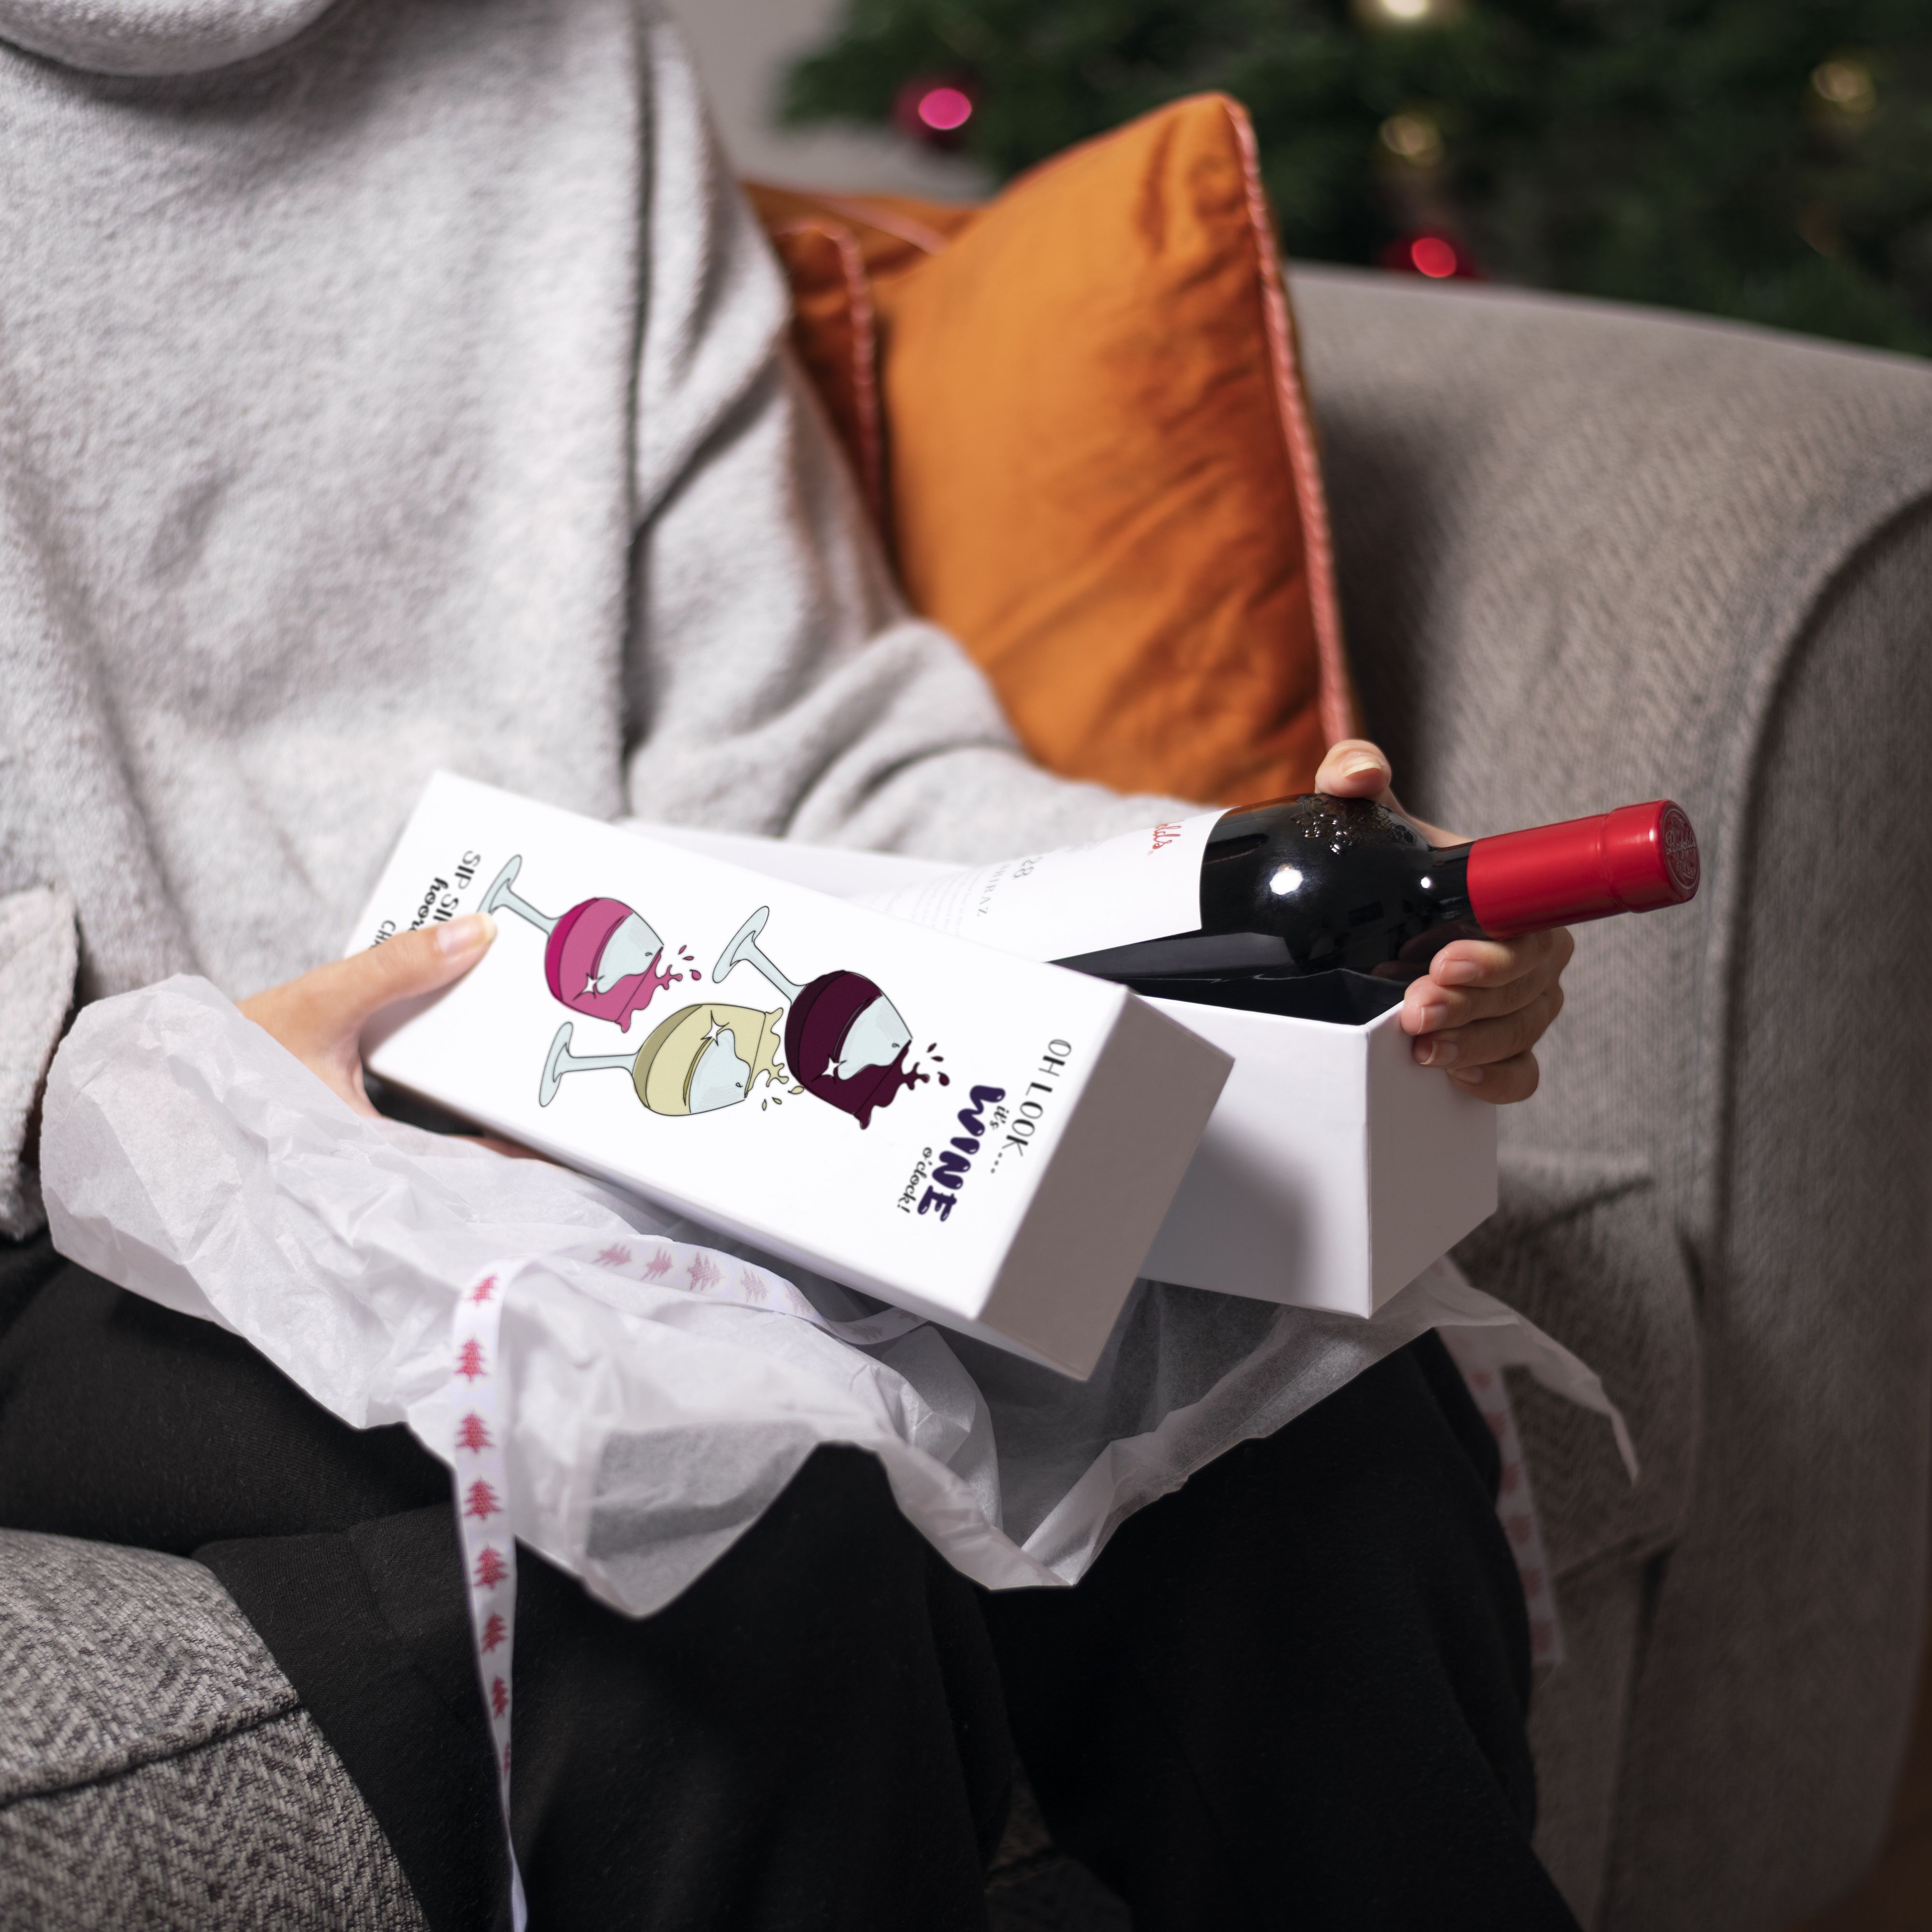
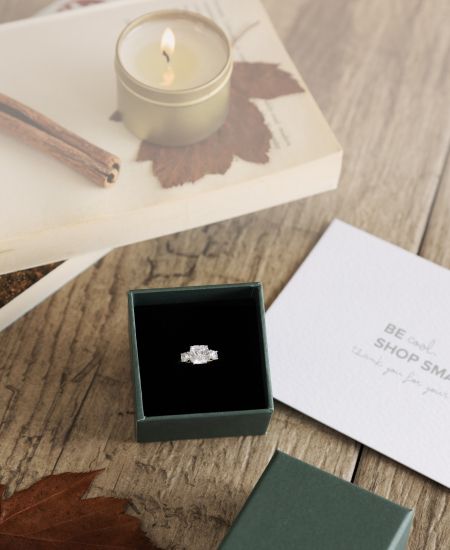
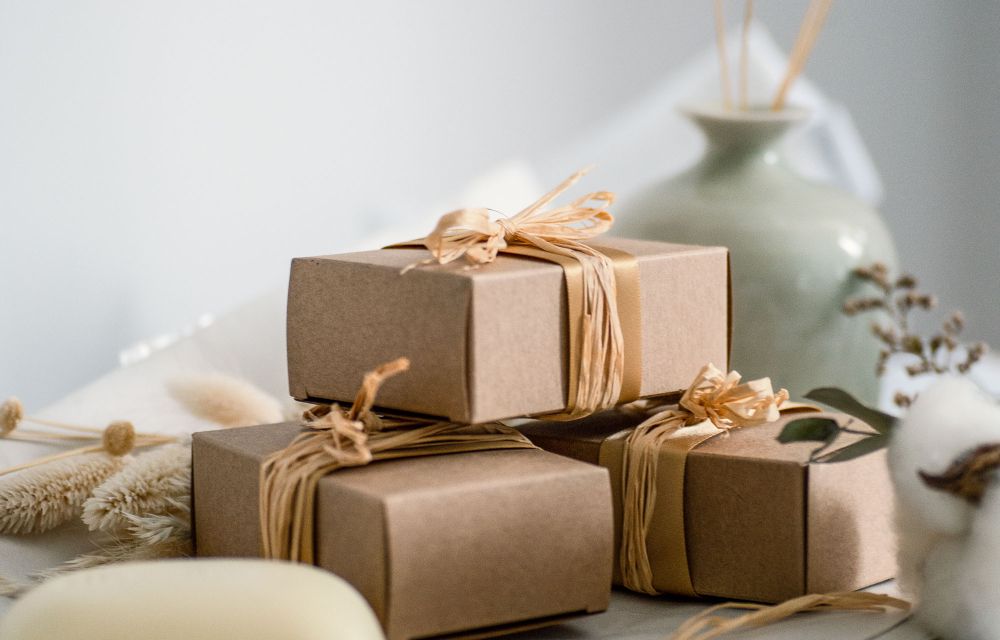
Box & insert choices (protect + present)
You want kits to arrive intact and feel premium, without three layers of bubble wrap.
If it needs to fit through the letterbox:
- PIP A5 or A6 gift boxes
- 1–2 mm pads (not bulky fill)
- Keep packed height ≤ 23 mm
If it’s headed into Small Parcel territory:
- 170–210 gsm gift boxes with stronger bases
- Edge pads for glass items
- Inserts to stop rattling and keep items upright
Insert ideas:
- Card cradles for candles or bottles
- Paper honeycomb for plastic-free cushioning
- Fold-flat risers to lift small items
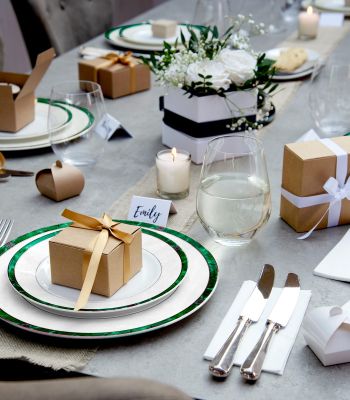
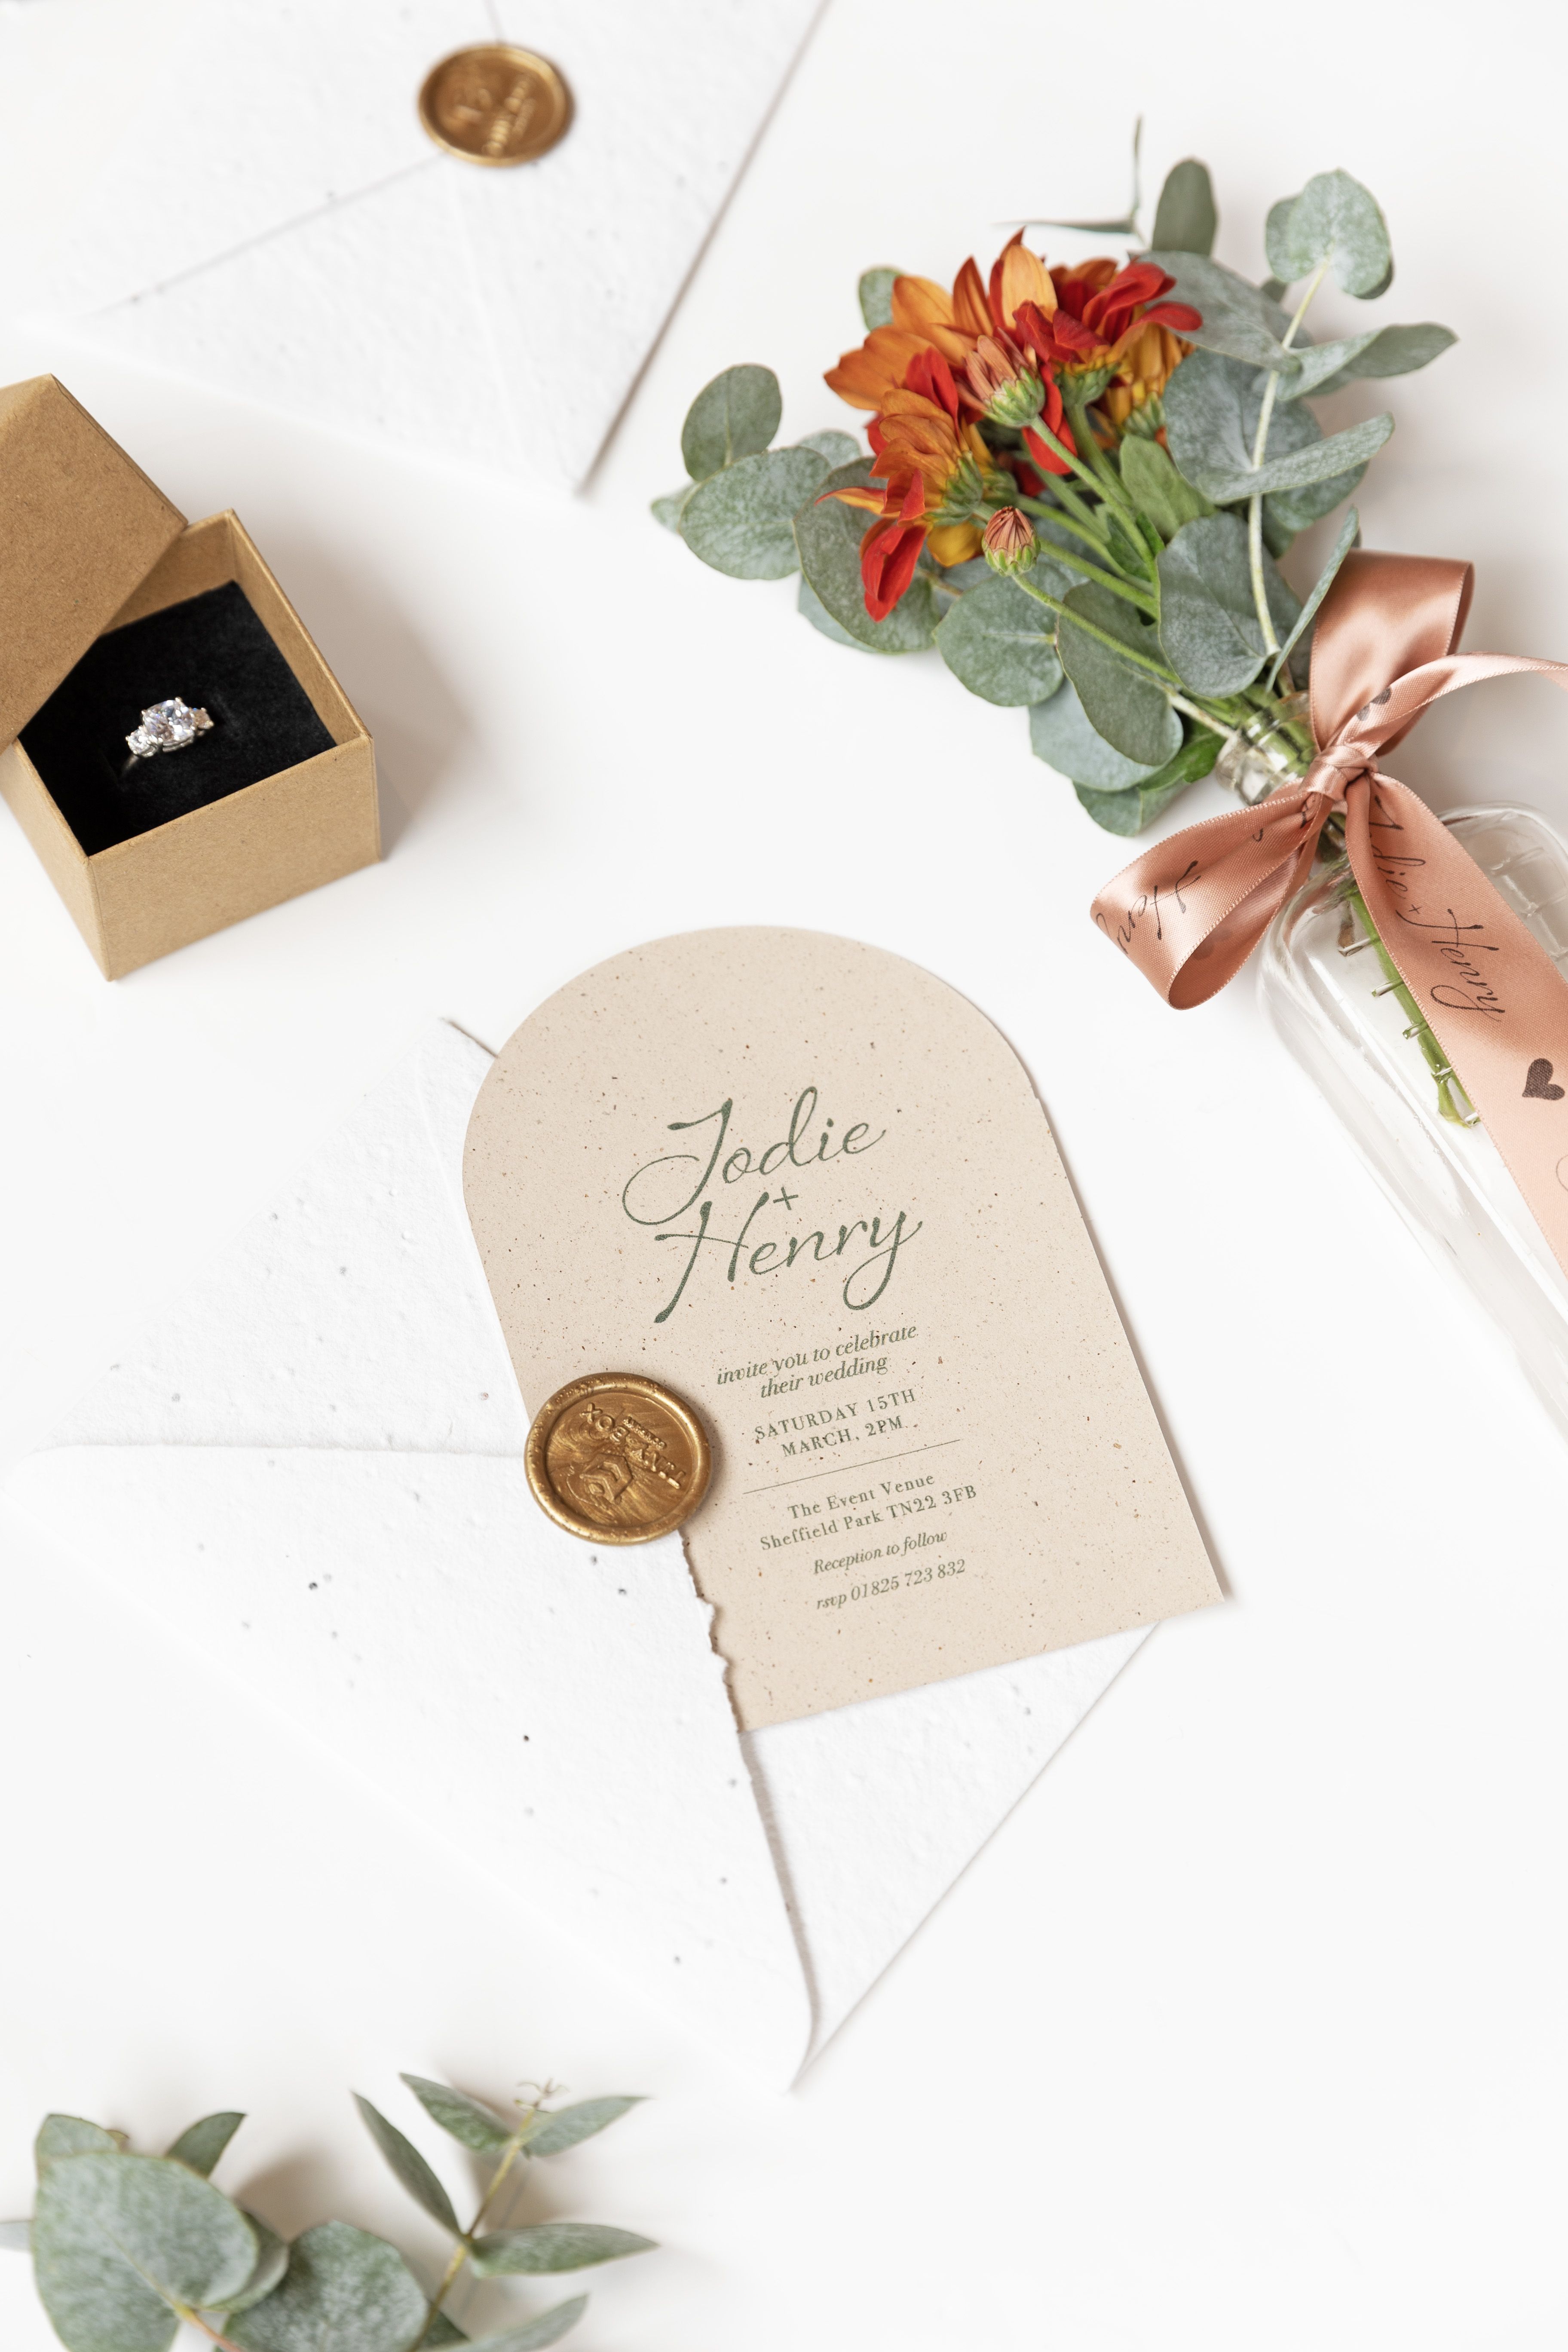
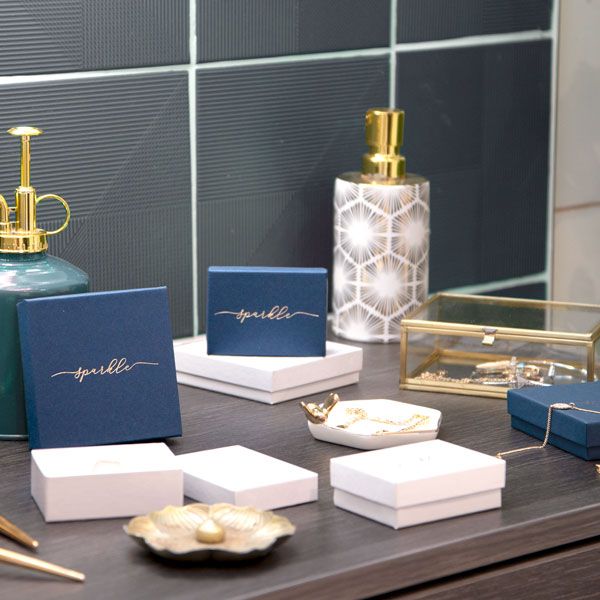
Presentation cues:
- Tissue tucked neatly under the insert
- Ribbon tails trimmed at a crisp 45°
- Keep colours locked to the BOM
Right-sized packaging looks better, protects better, and keeps postal costs in check.
Right-size packaging for bundles (cost + care)
- Match the postal band - don’t force letterbox kits if protection needs height.
- Use pads over loose fill for structure without fluff.
- Stick to nesting box families to simplify storage and reordering.
Visual packing sequence (photo SOP)
Use this 7-step flow for every kit:
- Open box; place base pad.
- Add insert before the heaviest item.
- Add smaller items using risers.
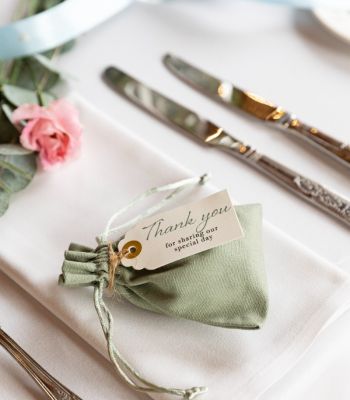
- Tuck tissue and tie ribbons.
- Add tags.
- Place top pad.
- Close, label, and quality check.
Tip: Add a QR code linking to a 20-second demo video.
Quality control & rework loop
Think of this as your gift set’s final sparkle check.
Quick quality checks:
- Weight or count check against reference (±5 g)
- Cosmetic check: no scuffs, tidy ribbon, crisp corners
- Shake test: if it rattles, add protection
Keep a small rework station with spare boxes so minor issues don’t mean binning a full kit.
Time standards (hit throughput targets)
Breaking work into seconds makes bottlenecks obvious.
- Open & pad: 8–12 seconds
- Insert + heavy item: 10–15 seconds
- Accessories + tissue/ribbon: 20–35 seconds
- Label + QC: 10–15 seconds
- Total: 50–80 seconds depending on complexity
Common slow-downs:
- Searching for parts → fix the pick path
- Fiddly ribbon → pre-tie bows or switch to tags
- Frequent rework → adjust pad or insert spec
Stock control & substitutions
December is not the time to pause production for missing ribbon.
Want help planning festive packaging timelines with confidence?
Simple rules:
- Minimum: 2× daily kit volume
- Maximum: 1 week of cover at peak
- Pre-approve 1–2 swaps per colourway
- Label swapped kits as v2 and update the SOP photo
Consistency matters. Surprises are for recipients, not your packing team.
Sustainability (no plastic faff)
- Use paper pads over bubble wrap
- Reuse non-dated festive parts in January kits
- Choose recyclable boards and lightweight inserts
Small swaps, big impact (and customers notice)!
Planning festive kits?