


Who this guide is for
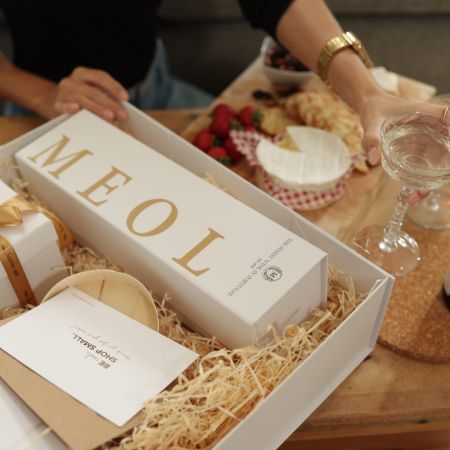
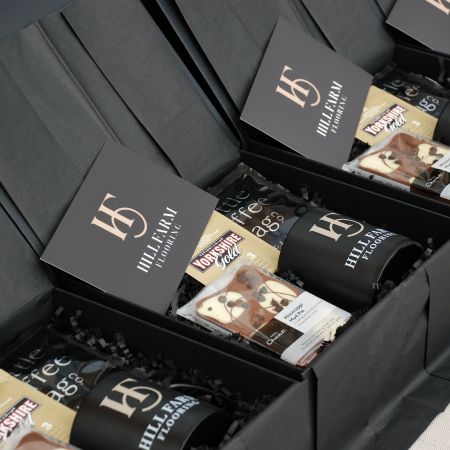
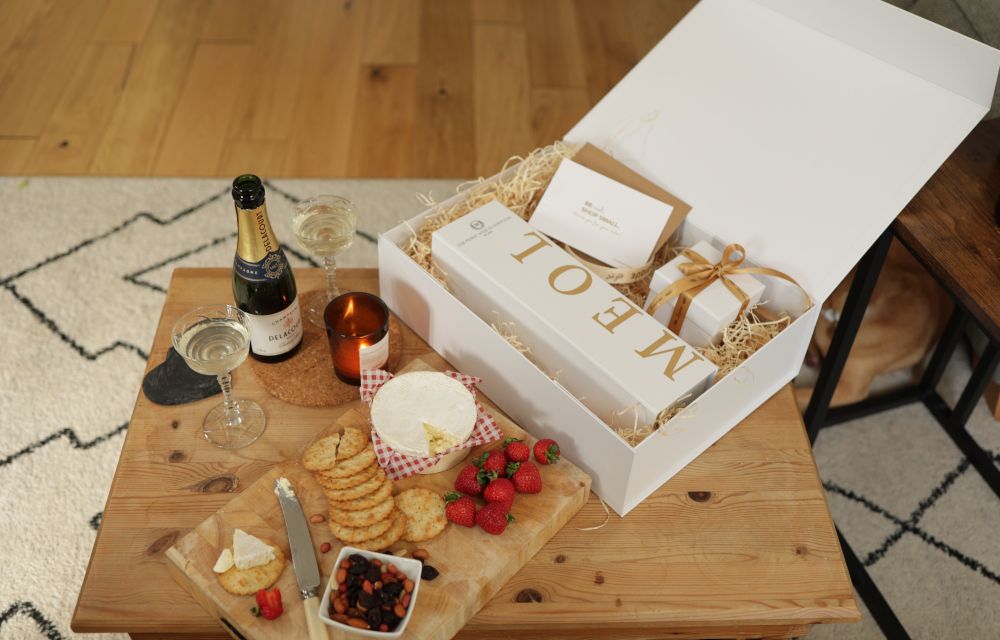
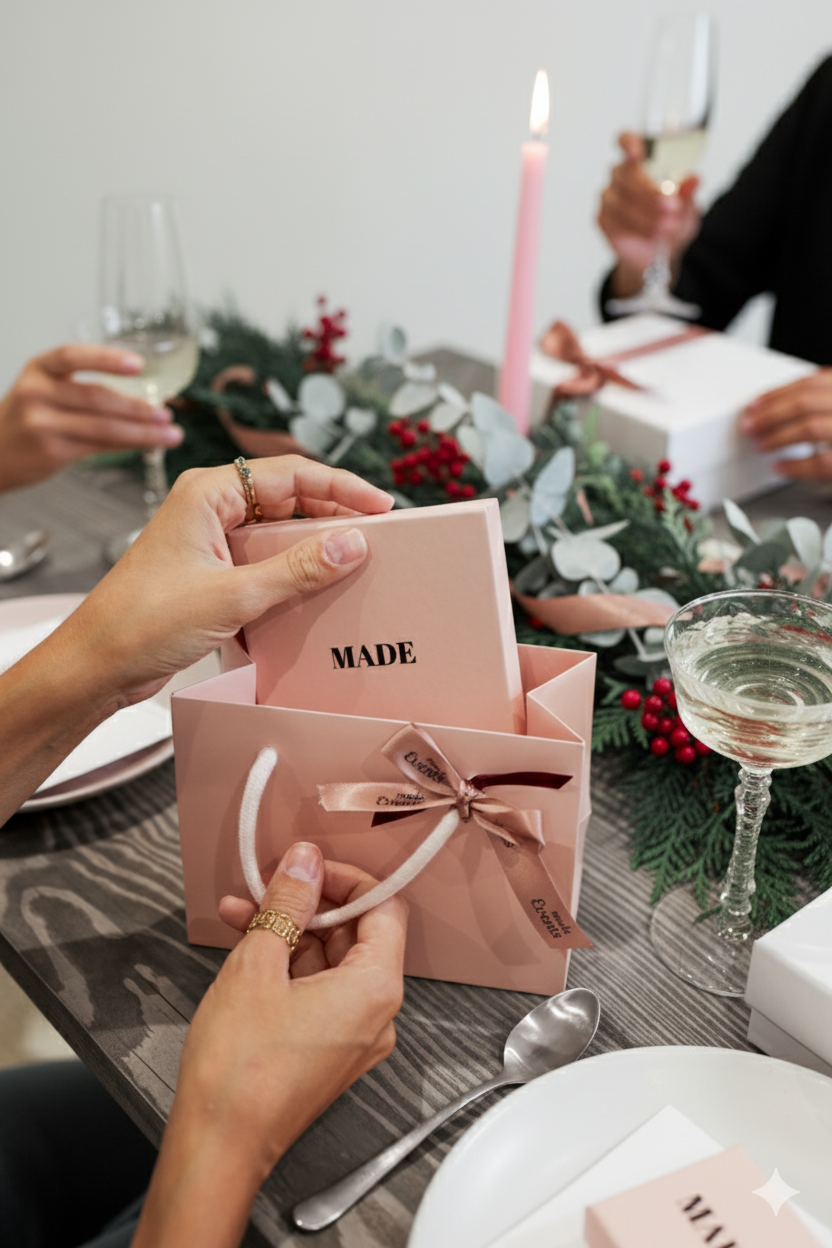
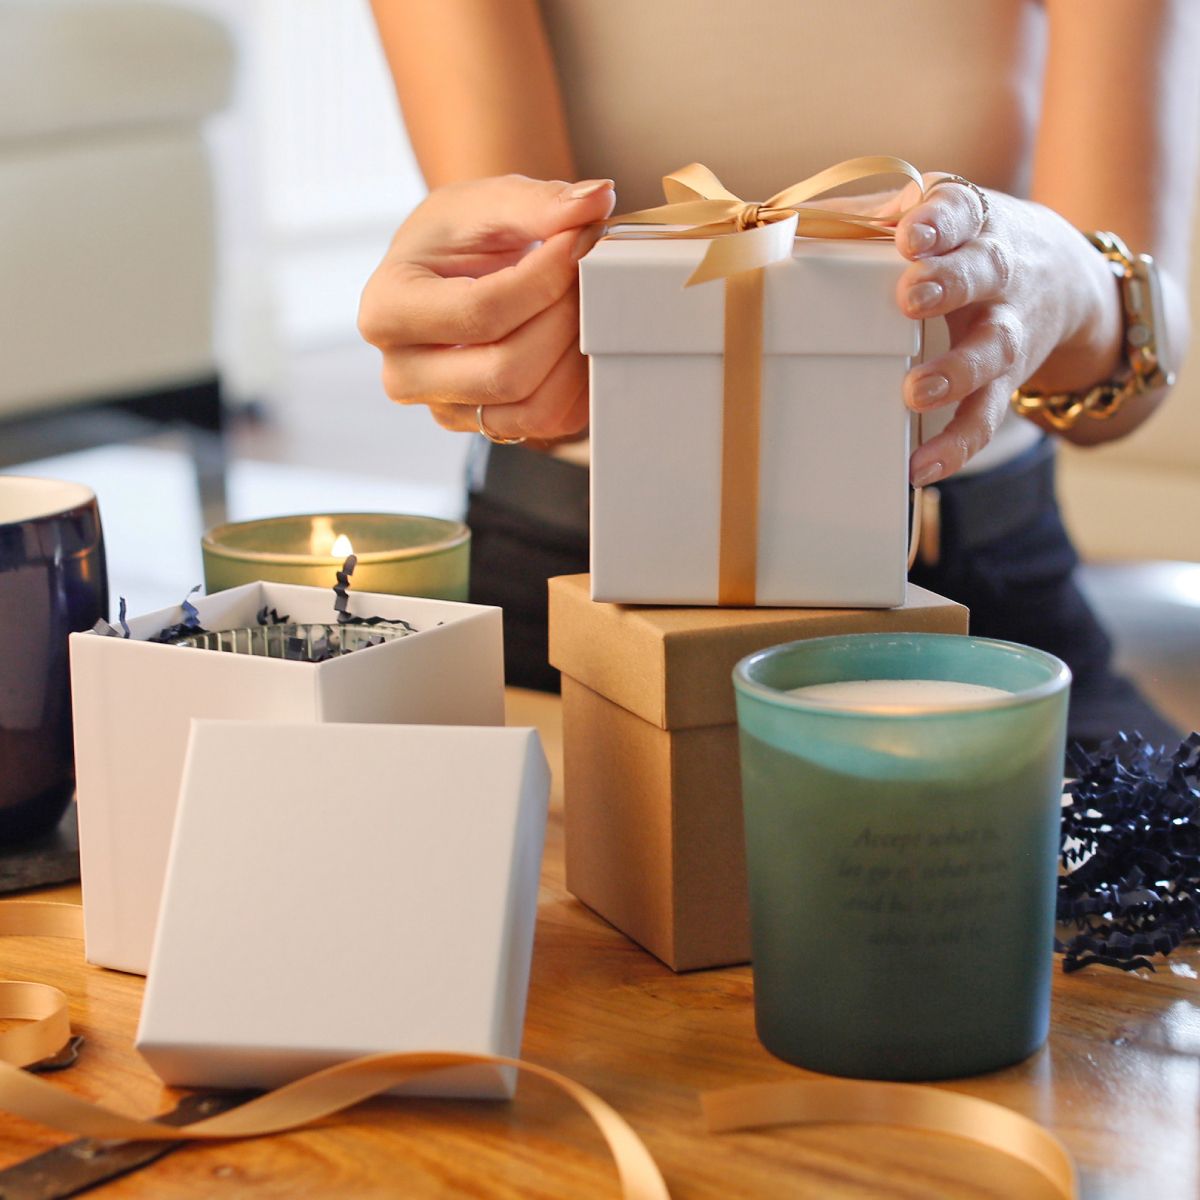
This is for UK small business owners, creators and makers, and brand teams prepping packaging samples for campaign photography, especially Christmas gift boxes, where colours, foils and finishes really matter.
You’ll learn a simple, 10-minute process that keeps colours accurate, foils crisp, and finishes camera-friendly across studio lights, daylight, and mobile screens.
Shopping for festive packaging?
Why samples fool you (and how to stop them)
Samples can behave beautifully in your hand… then look completely different under studio lighting. Here’s why:
1. Different lighting = different behaviour
Studio LEDs, daylight, and phone flashes all reveal finishes differently:
- Gloss can flare or create harsh reflections.
- Soft-touch can look darker or “muddy”.
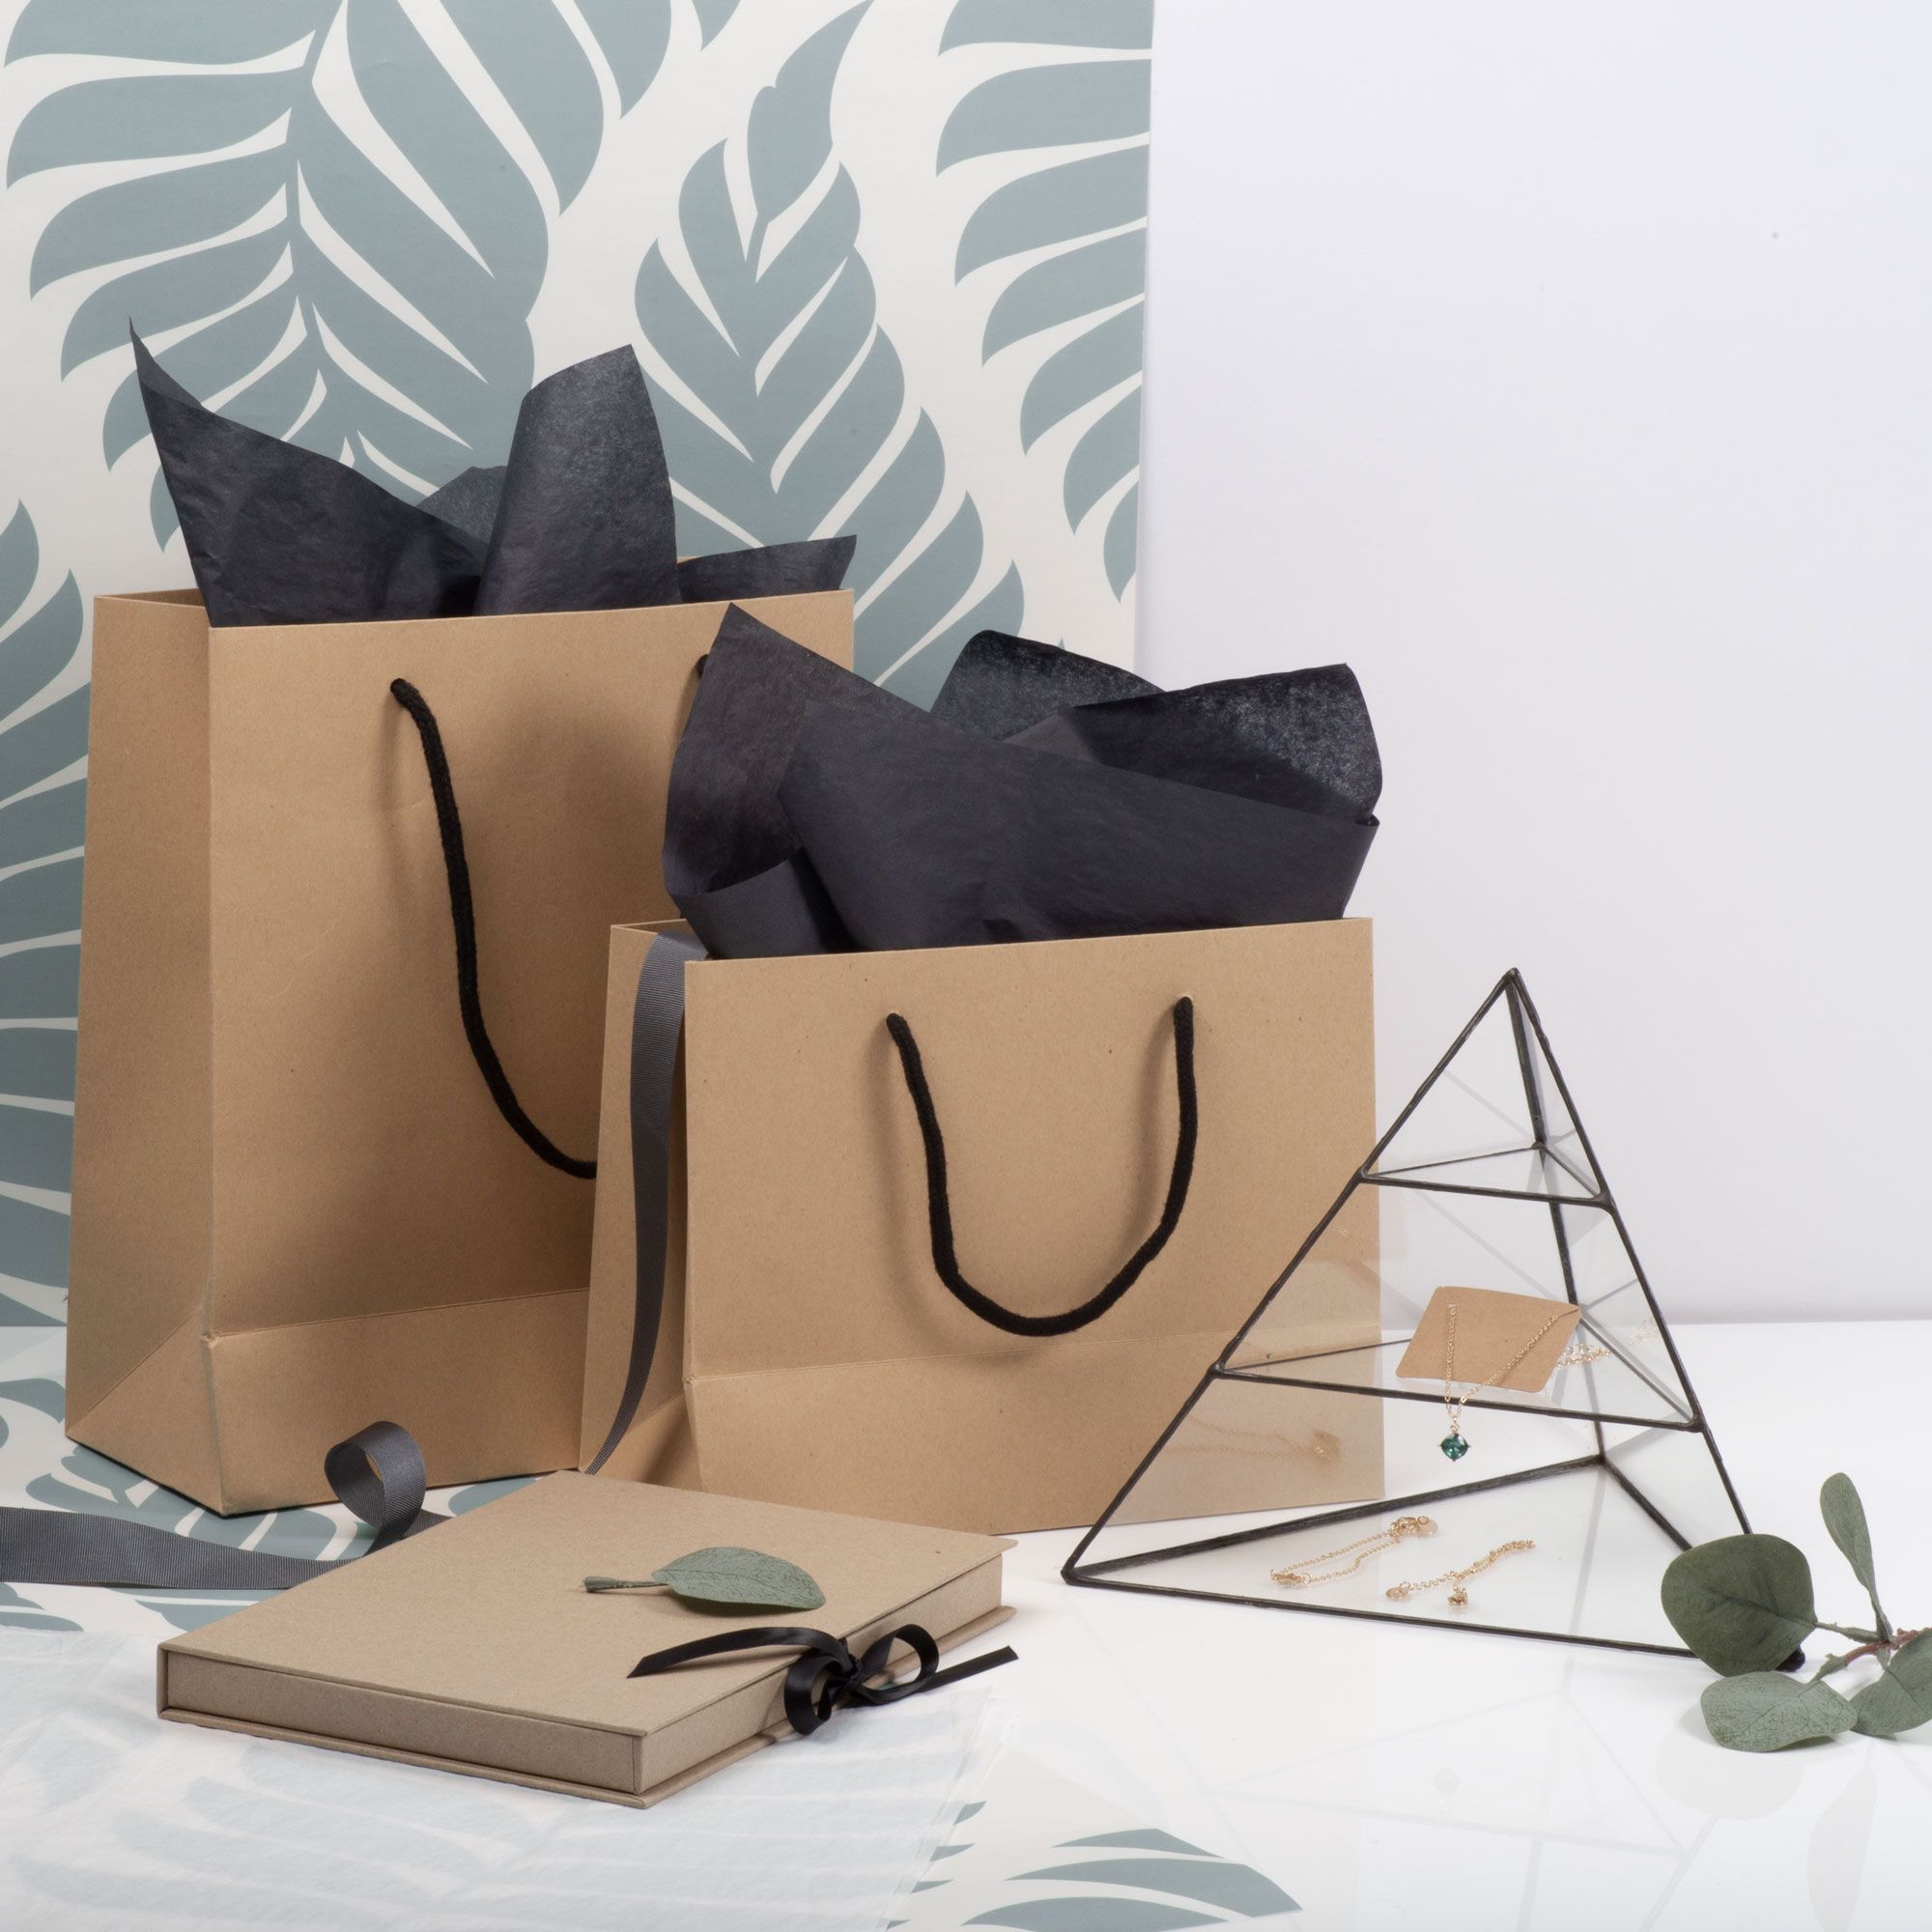
- Uncoated kraft can warm up under tungsten or warm LEDs.
2. Small-batch variance
Samples are often made from different paper lots or finishing runs than final production. Tiny differences can create a big visual impact.
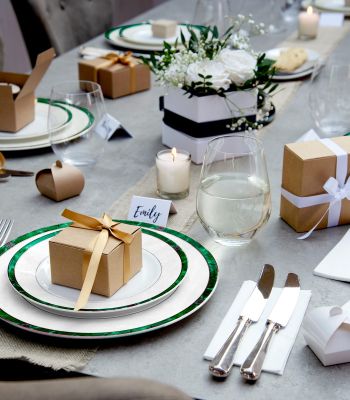
3. Colour cast from props and backgrounds
Bright tissue, ribbon, or coloured backdrops can bounce light onto boxes and distort the colour.
This guide gives you:
- A 10-minute lighting test.
- Clear pass and fail criteria.
- Guidance on when to escalate to drawdowns or proofs.
Useful extras:
Budget smarter for seasonal peaks
The sample brief (send this to suppliers)
Sending a good brief means getting the right samples the first time. Copy and paste this:
- Stock & weight: Specify the paper or board you expect.
- Finish: Matt, gloss, soft-touch, spot UV, emboss/deboss, foil (include plate size and position).
- Colour references: Pantone C/U numbers plus CMYK builds if used.
- Print method: Litho, digital, or screen printing.
- Intended use: Website product pages, campaigns, social media.
- Samples needed: 2–3 of each colour and finish, plus flat off-cuts.
- If branded: One production-process sample using actual plates where possible.
Bonus tip: Request a small finish matrix (e.g. black × matt × foil, black × soft-touch × foil). Comparing side-by-side saves hours.
The 10-minute pre-shoot lighting test
This is your quick “will this photograph well?” check. No fancy gear needed.
Budget-friendly kit:
- Two soft lights (or a window + diffuser)
- White foam board (reflector)
- Black card (to block light)
- Tripod or phone clamp
- Grey card
- Microfibre cloth
- Optional CPL filter to reduce glare
1. Clean & set
- Wipe fingerprints (soft-touch shows everything).
- Use a neutral background (light grey or stone).
- Turn off mixed lighting.
2. White balance
- Place a grey card in the frame.
- Camera: set white balance using the card.
- Phone: lock exposure and focus, then fine-tune.
3. Matt & soft-touch test
- One diffused side light, white reflector opposite.
- Check colour accuracy and finish smoothness.
- If dull, reduce diffusion or adjust angle.
4. Gloss & spot-UV glare test
- Two lights at roughly 45° angles.
- Feather lights so hotspots miss the surface.
- Use black cards to shape reflections.
- Rotate CPL filter until glare fades.
5. Foil & emboss test
- Tilt sample to find a clean highlight line.
- Use raking light to reveal texture.
- Shoot a close-up.
6. Record & label (1 minute)
Hold a card in frame listing lighting setup, white balance, camera/phone mode, and sample ID.
Pass and fail criteria
Pass if:
- Logo is clear at mobile zoom.
- Foil shows a clean highlight.
- Soft-touch looks smooth.
- Colour matches your master sample.
Fail if:
- Gloss blooms or flares.
- Foil counters fill in (<0.6–0.8mm).
- Strong green or magenta cast appears.
- Texture disappears unless viewed up close.
Next steps:
- Minor issues: adjust lighting or background.
- Major issues: request alternative finishes or Pantone drawdowns.
Phone-first testing (yes, phones are fine)
- Lock autofocus and exposure on the logo.
- Reduce exposure by -0.3 to -0.7.
- Use window light with diffusion.
- Shoot RAW/Pro mode if available.
- Avoid beauty filters.
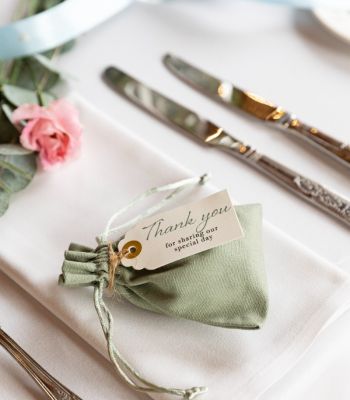
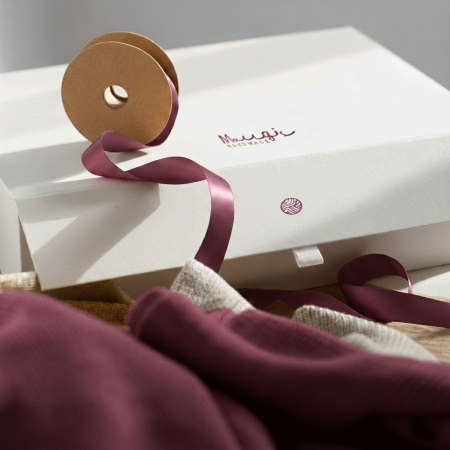
Backgrounds, props & colour cast
- Use light grey, stone, or pale timber.
- Keep props subtle and brand-aligned.
- Red and green props reflect strongly.
- Test ribbon and tissue pairings early.
When to escalate
Ask for Pantone drawdowns if:
- Colour accuracy is critical.
- Stock changes (coated vs uncoated).
Ask for wet proofs if:
- Testing soft-touch + foil combos.
- Using large solid colour panels.
Ask for alternative finishes if:
- Samples fail more than once.
- Glare can’t be controlled.
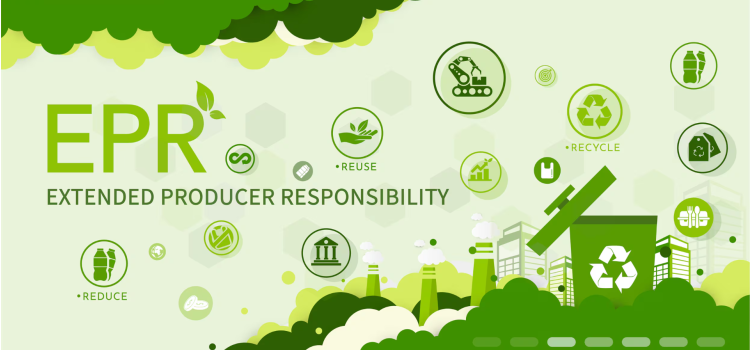
Sustainability note
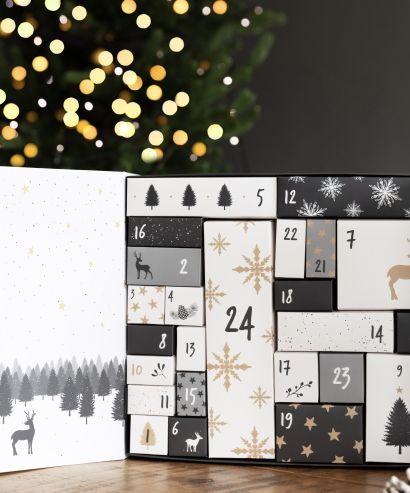
Stick to recyclable, paper-first finishes and avoid year-specific prints so approved samples stay usable if timelines slip into January.
Shopping for festive packaging?