


Labelling That Scans First Time
A barcode can be perfectly printed and still fail at the scanner.
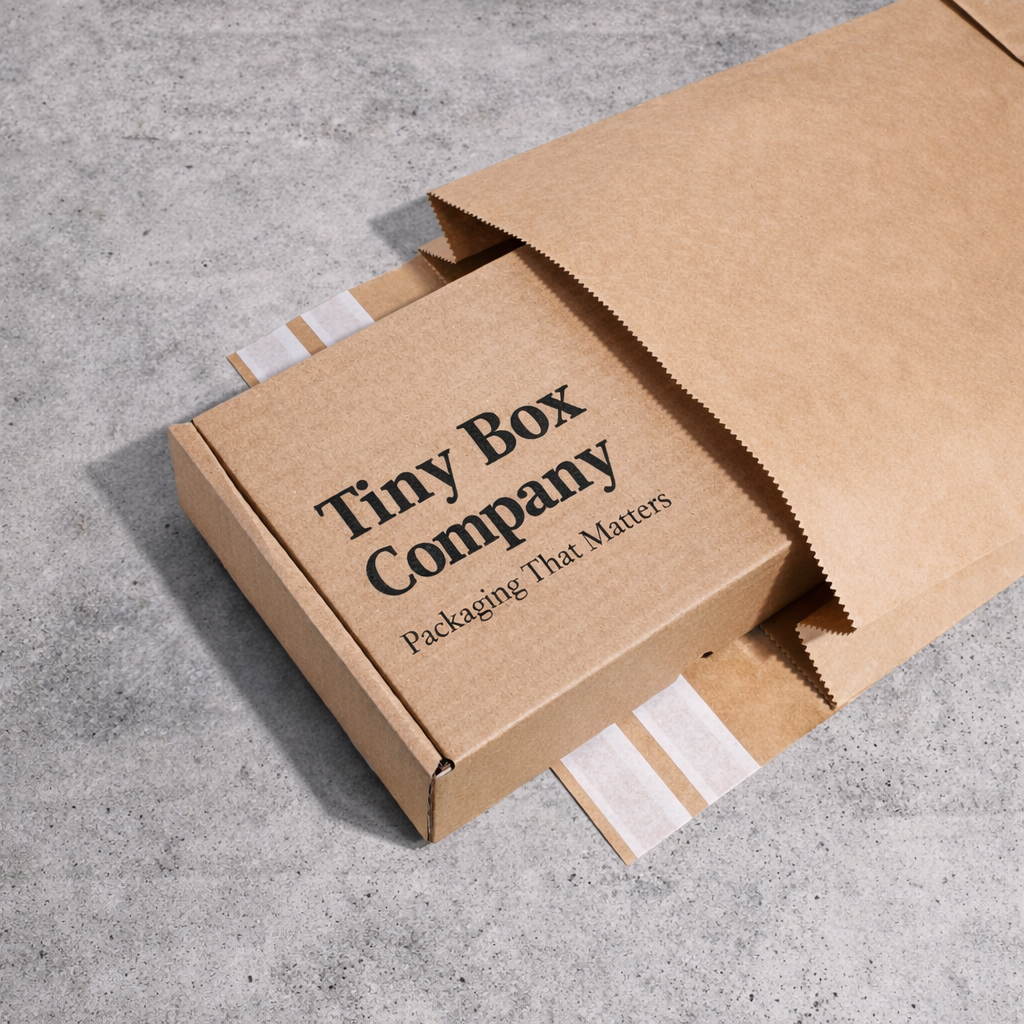
On paper mailer bags, the problem is often not the label alone. It is the surface underneath it. A barcode placed over a seam, crease, gusset, flap edge, or bulging product can distort just enough to trigger manual handling, relabelling, carrier delays, or charge queries.
For high-volume despatch teams, those small failures add up. One awkward label slows a parcel. A repeated placement issue slows a line.
This guide is about labelling paper mailer bags for first-pass scan reliability. Think clear label zones, flatter packed surfaces, and simple rules your team can repeat at speed.
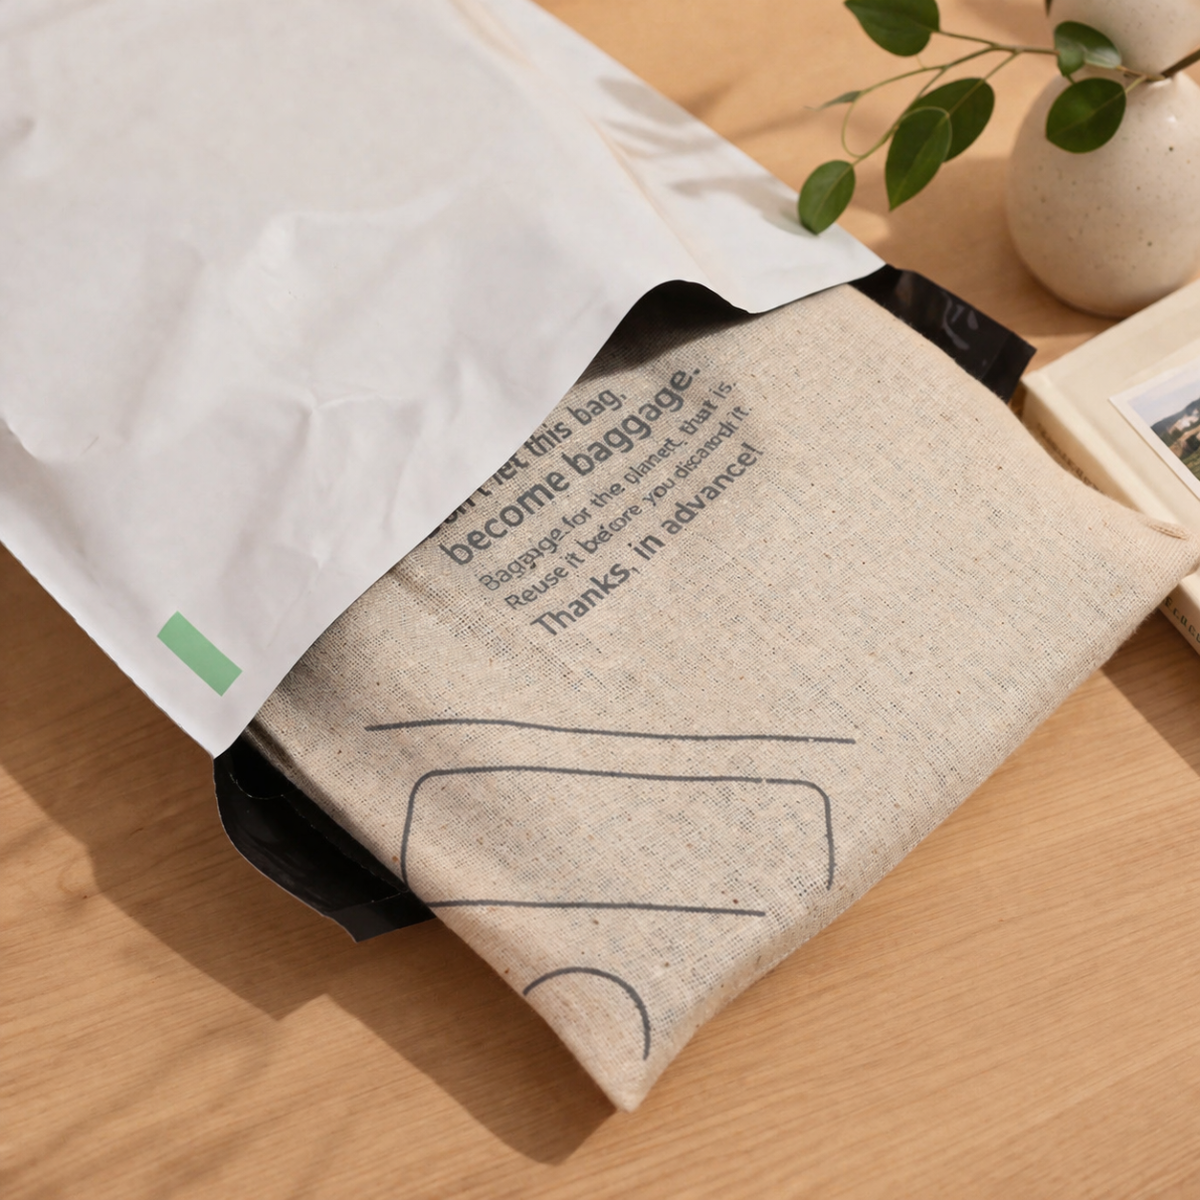
Need postal bags to get you started?
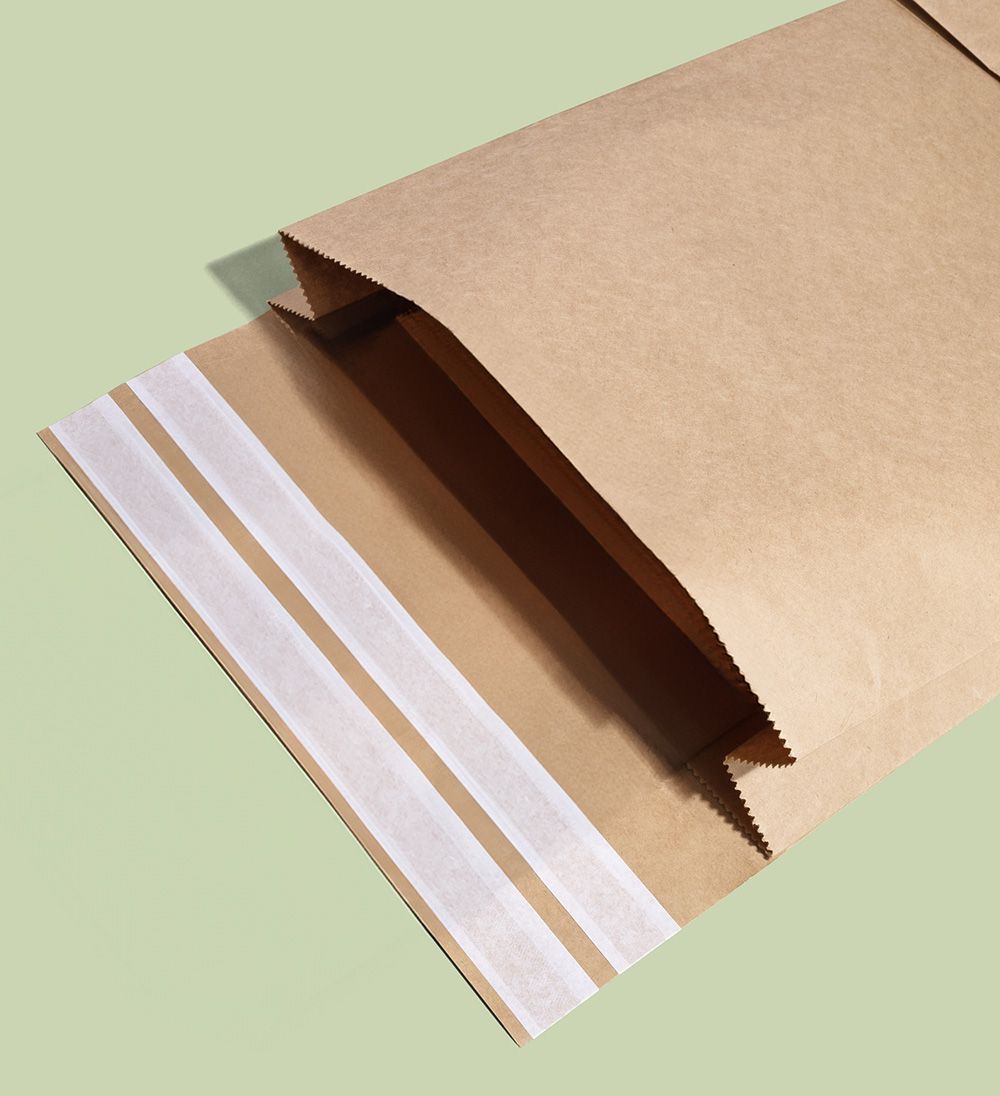
Why Paper Mailer Bags Need A Planned Label Zone
Paper mailer bags are flexible. That is useful for soft goods, clothing, and lightweight orders, but it also means the surface can change once the bag is filled.
A box has a fixed flat face. A mailer has a packed profile. If the contents push into the middle, the corners bunch, or the flap folds across the front, the label area may no longer be flat.
That is why shipping label mailer bags need a planned label zone, not just a spare bit of space after the design is finished.
A good label zone should be:
- Flat once packed.
- Large enough for the full carrier label.
- Free from seams, folds, gussets, and tear strips.
- Away from the sealed edge.
- Easy for packers to find.
- Kept clear of heavy artwork or key brand messaging.
- Repeatable across different packers and shifts.
Blank space is not wasted branding, it’s operational breathing room. If the barcode scans first time, the bag is doing its job.
Barcode Label Placement On Mailers: The Core Rule
Place the label on the largest, flattest, cleanest face of the packed and sealed mailer.
DHL guidance says the barcode should not be creased and should be on one surface of the parcel, not folded around corners. FedEx also says labels should not be placed over corners or seams.
For paper mailing bags, that means avoiding:
- Side seams.
- Bottom seams.
- Gusset folds.
- Flap folds.
- Tear strips.
- Overfilled areas.
- Wrinkled corners.
- Curved or domed product areas.
- Areas where the bag surface moves when handled.
The barcode needs a calm little runway.
Where Not To Put A Shipping Label
Some label positions look convenient at the bench, but create scan problems in the network.
Avoid placing labels:
| Avoid This Area | Why It Causes Problems |
|---|---|
| Across a seam | The barcode can break or bend across the join. |
| Over a gusset | The surface may expand, crease, or fold. |
| On the flap edge | The label may sit over layered paper and lift. |
| Around a corner | The barcode is split across surfaces. |
| Over a bulging product | Curving can distort the barcode. |
| On loose excess paper | The label may wrinkle during handling. |
| Across tear strips | The label may be damaged if the bag is opened. |
| Near the very edge | Corners and edges are more likely to scuff or lift. |
For printed paper mailing bags, make sure the printed design does not tempt packers into using a poor label area. A beautiful pattern is lovely. A barcode on a crease is not.
Print Settings Matter, But Pack Design Matters Too
Scan failures are not only caused by printer settings.
Yes, print quality matters. Labels should be clear, dark enough, not faded, not smudged, and not cut off. The barcode should have enough quiet space around it, and the label should not be damaged before despatch.
But even a good label can fail if it is applied to the wrong surface.
Common pack-design causes include:
- The bag is too small, so the product bulges under the label.
- The bag is too large, so spare paper wrinkles under the label.
- The gusset sits where the label needs to go.
- Branding takes up the only flat area.
- The flap fold runs through the label zone.
- Staff use different label positions on the same product.
A printer fix will not solve a bag-layout problem. The label, the bag, and the packed product need to work together.
The Clean Label Panel Rule
When choosing paper mailer bags, reserve one clean label panel before you approve the format.
A simple rule:
The label panel should be larger than your standard shipping label, flat after packing, and clear of all seams, gussets, folds, handles, tear strips, and closure edges.
For most despatch teams, that means testing your actual label size against the packed mailer. Do not rely on catalogue dimensions alone.
Check:
- Does the full label fit without wrapping?
- Does the barcode sit on one flat surface?
- Does the address remain readable?
- Does the label avoid seams and folds?
- Does the label stay smooth when the parcel is lifted?
- Is there enough clear space for the label if the bag is slightly fuller than normal?
This is especially useful for custom paper mailing bags. If you are adding print, logo placement, QR codes, or campaign artwork, protect the label panel early. The label zone should be part of the design, not a late-stage apology.
Paper Mailing Bags For Clothes: Stop The Wrinkle Risk
Paper mailing bags for clothes can be scan-friendly, but only when the garment sits flat beneath the label zone.
Clothing creates three common problems:
- The garment is folded too thickly in the centre.
- The item shifts to one side of the bag.
- The mailer has excess paper that wrinkles under the label.
For clothing orders, set a packing rule that keeps the flattest part of the folded garment under the label area. If the product is bulky, place the label on the side with the least curve, or step up to a better-sized bag.
Useful checks include:
| Clothing Order Type | Label Risk | Better Rule |
|---|---|---|
| Single T-shirt | Wrinkles from excess bag space. | Use a close-fit flat mailer and label the smooth face. |
| Hoodie | Domed centre under label. | Use a larger or gusseted format and label the flattest face. |
| Socks or small accessories | Product slides away from label area. | Use small mailer or secure fold to reduce loose paper. |
| Multi-item order | Uneven stack creates ridges. | Fold consistently and avoid placing barcode over the thickest ridge. |
| Pre-packed garment | Inner pack edge creates a raised line. | Keep barcode away from the inner pack edge. |
For more on postal sizing, read our guide to Royal Mail bands made easy for postal bags.
Bag Finish And Label Adhesion
A label needs to stick cleanly before it can scan cleanly.
Bag finish can affect adhesion. Very textured, dusty, damp, curved, or heavily printed surfaces may make it harder for a label to bond well. If a label edge lifts during handling, the barcode can crease, tear, or become partly unreadable.
When checking paper mailing bags, test labels on:
- Plain paper areas.
- Printed areas.
- Textured areas.
- Any coated or finished areas.
- Areas close to folds or seams.
- Bags packed with real products.
Smooth label zone mailers should give the label enough surface contact to stay flat from packing bench to carrier handoff.
If you use printed paper mailing bags, avoid placing the main label zone over dense print or heavy ink coverage unless your labels have been tested on that finish.
Standard Label Placement For Fast Despatch
In a busy despatch environment, people need a rule they can follow quickly.
A good despatch label best practice is:
Label the same face, in the same position, for each approved bag and product group.
That helps with:
- Faster packing.
- Cleaner training.
- Fewer placement decisions.
- Easier quality checks.
- Better scan consistency.
- Cleaner carrier handoff.
Create a simple placement map for each bag type. For example:
| Bag Type | Approved Label Position | Watch-Out |
|---|---|---|
| Small flat mailer | Front centre, away from flap. | Avoid excess paper wrinkles. |
| Medium clothing mailer | Front upper-middle, over flattest product area. | Do not place over garment fold ridge. |
| Gusseted mailer | Largest flat face, away from gusset expansion. | Avoid side gusset crease. |
| Returnable mailer | Outbound label zone only. | Keep second seal and return label space clear. |
| Custom printed mailer | Reserved blank panel. | Do not cover required instructions or QR codes. |
When the rule is visible at the bench, teams do not have to freestyle.
Real Scan Testing Beats Empty Sample Checks
Do not test labels on empty mailer bags only.
Empty bags are flat, calm, and far too well behaved. Packed mailers are where the truth lives.
Run a scan test with:
- The actual product.
- The approved fold.
- The correct bag size.
- The real despatch label.
- The normal printer settings.
- The label in the planned position.
- A packed sample from more than one team member.
Then check whether the barcode scans first time from normal handling angles. If the scanner needs several attempts, the label zone may need to move, or the bag may need to change.
For scan-ready postal bags, test the awkward cases too: largest garment size, thickest fabric, multi-item order, and fuller-than-average pack. That is where the barcode gremlins usually live.
Clean Labelling Workflow For Despatch Teams
Use this workflow when setting up paper mailer bags for reliable scanning.
| Step | What To Do | Pass Question |
|---|---|---|
| 1 | Pack the product as normal. | Does the bag sit flat enough for labelling? |
| 2 | Identify the clean label panel. | Is it free from seams, folds, gussets, and closure edges? |
| 3 | Apply the label smoothly. | Are there no wrinkles, bubbles, or lifted corners? |
| 4 | Check barcode position. | Is the barcode on one flat surface? |
| 5 | Check print quality. | Is the barcode sharp, complete, and not faded? |
| 6 | Lift and handle the parcel. | Does the label stay flat? |
| 7 | Scan the barcode. | Does it scan first time? |
| 8 | Repeat across packers. | Can the team get the same result consistently? |
DHL’s parcel guidance links readable barcodes with flat surfaces for sorter cameras, and FedEx advises keeping the label clear, uncovered, and away from seams and corners.
Despatch SOP Checklist
Use this as a standard operating checklist for label placement on paper mailing bags.
| Check | Pass Standard |
|---|---|
| Label zone | Reserved, flat, and easy to find. |
| Surface | Smooth, clean, dry, and not overfilled. |
| Seams | Label does not cross seams or joins. |
| Gussets | Barcode avoids expandable folds. |
| Flap | Label is not placed over the closure fold. |
| Edges | Label does not wrap around corners or edges. |
| Barcode | Sharp, complete, and on one surface. |
| Adhesion | No lifting, bubbles, or wrinkles. |
| Branding | Artwork does not interfere with label placement. |
| Team repeatability | Same bag, same product group, same label position. |
| Scan test | Packed parcel scans before handoff. |
Choose Mailer Bags That Help Labels Do Their Job
First-time scanning starts before the label is printed.
It starts with the right paper mailer bags: formats with a stable packed profile, a clear label panel, and enough flat surface to keep barcodes readable through handling and carrier handoff.
For fulfilment teams, the best fix is usually simple. Choose a bag that suits the product, reserve the label zone, avoid seams and folds, test the packed parcel, and give packers one clear placement rule.
No scanner should need to squint.
Review our paper mailer bags and request samples to test label zones with your real products before rolling out across despatch.
FAQs
Where Is The Best Place To Put A Shipping Label On A Paper Mailer Bag?
Place the shipping label on the largest, flattest, cleanest face of the packed and sealed mailer. Avoid seams, gussets, flap folds, corners, edges, and bulging product areas.
Why Do Barcodes Fail On Wrinkled Or Overfilled Mailers?
Wrinkles and bulges can bend or distort the barcode, making it harder for scanners to read. Overfilled mailers can also lift label edges or create curved surfaces under the barcode.
Should I Avoid Seams And Gussets When Placing Labels?
Yes. Carrier guidance advises labels should not be placed over seams or folded around corners, and barcodes should sit on one surface. Gussets can create folds or expansion points that distort the barcode.
How Large Should A Clean Label Zone Be On A Mailer?
The clean label zone should be larger than your standard shipping label, with enough space for the full address and barcode to sit flat without touching seams, folds, gussets, closure edges, or corners.
Does Bag Finish Affect How Well Labels Stick And Scan?
Yes. Very textured, dusty, damp, curved, or heavily printed surfaces can affect label adhesion. Test labels on the actual bag finish with packed samples before approving the format.
Is It Better To Test Scans On Packed Mailers Or Empty Samples?
Test scans on packed mailers. Empty samples are flatter than real parcels, so they may hide wrinkles, bulges, flap issues, and label-lift problems.
How Can I Reduce Relabelling In A Fast Despatch Environment?
Reserve a clear label panel, apply labels in the same position for each approved bag type, avoid seams and folds, check print quality, and scan-test packed samples before carrier handoff.