


Who this guide is for
This guide is for owner-managers and fulfilment leads at UK independents and SMEs shipping jewellery, candles and beauty products, boutique fashion accessories, and corporate gifts.
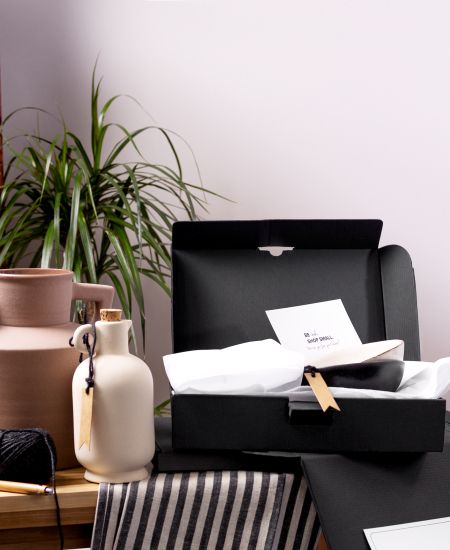
You need postal packaging boxes that are genuinely returns-ready:
- Easy to relabel
- Simple for customers to reseal
- Sized to stay inside typical UK postal bands
Outcome: fewer surcharges and damages, quicker return turnarounds, and happier customers who don’t need to wrestle a box back into shape.
Ready to get started?
Explore our range of Postal boxes →
What “returns-ready” really means (for you and your courier)
The three basics: integrity, readability, right-sizing
- Integrity: The box survives two journeys. Panels stay square, seals hold, and inserts keep the product where it should be, no rattling souvenirs.
- Readability: Labels and barcodes sit flat on clean panels. Nothing crosses seams, corners, or tape lines that scanners hate.
- Right-sizing: Once re-packed, the return still fits your target letterbox-friendly or small-parcel-style band, no surprise fees on the way home.
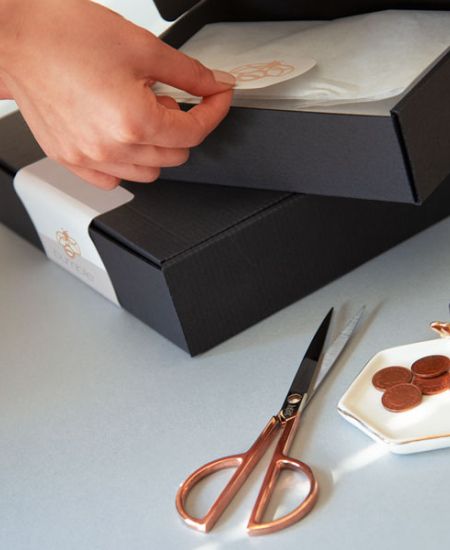
Why double-seal mailers save time (and money)
A double-seal does exactly what it says on the box:
- Strip 1 seals the outbound order
- Strip 2 is there for the return
No tape hunting. No loose flaps. No “I tried my best” customer reseals.
Add a tamper-evident tail and disputes get easier too, it’s obvious where the box was opened and how it should be closed again.
Pick the right carton for both outbound and inbound
Letterbox-friendly vs Small-Parcel mailers
- PIP / letterbox-friendly postal boxes (UK): Slim formats for jewellery cards, pouches, scarves, and neatly folded tees. Pair with board backers and thin risers to keep things flat and protected.
- Small-parcel-style mailer cartons: A little more height for candles, small bottles, and gift sets. Look for strong edge crush and clean, flat label panels.
Want more information on labelling and paperwork that helps to keep your parcels moving?
Crash-lock or regular mailer; when to use each
- Crash-lock bases (FEFCO 0711 / 0713 styles): Fastest to erect (your pack bench will thank you). Add a peel-and-seal plus a second strip on the flap to make them returns-ready.
- Self-locking mailers (FEFCO 0427 / 0426 styles): Tidy corners and great presentation. Specify a double-seal tape or resealable strip from the start.
Set up seals, labels, and inserts properly
Double-seal placement (and how customers know what to do)
- Strip 1 sits on the flap edge for outbound shipping
- Strip 2 sits 10–15 mm behind it, clearly printed “Reseal Here”
- Add a small printed arrow on the receiving panel to show where to press
For heavier items, consider short side-tab seals customers can replace with the provided tear-tapes.
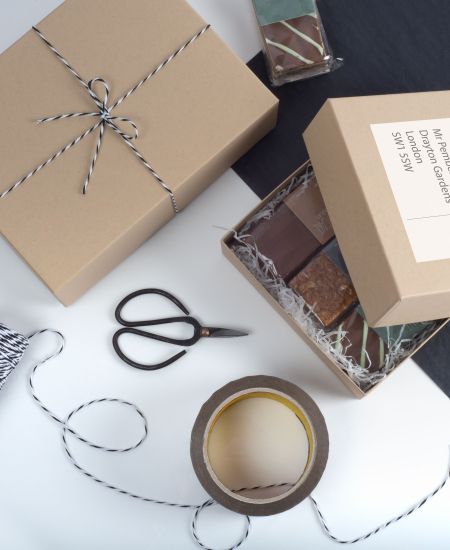
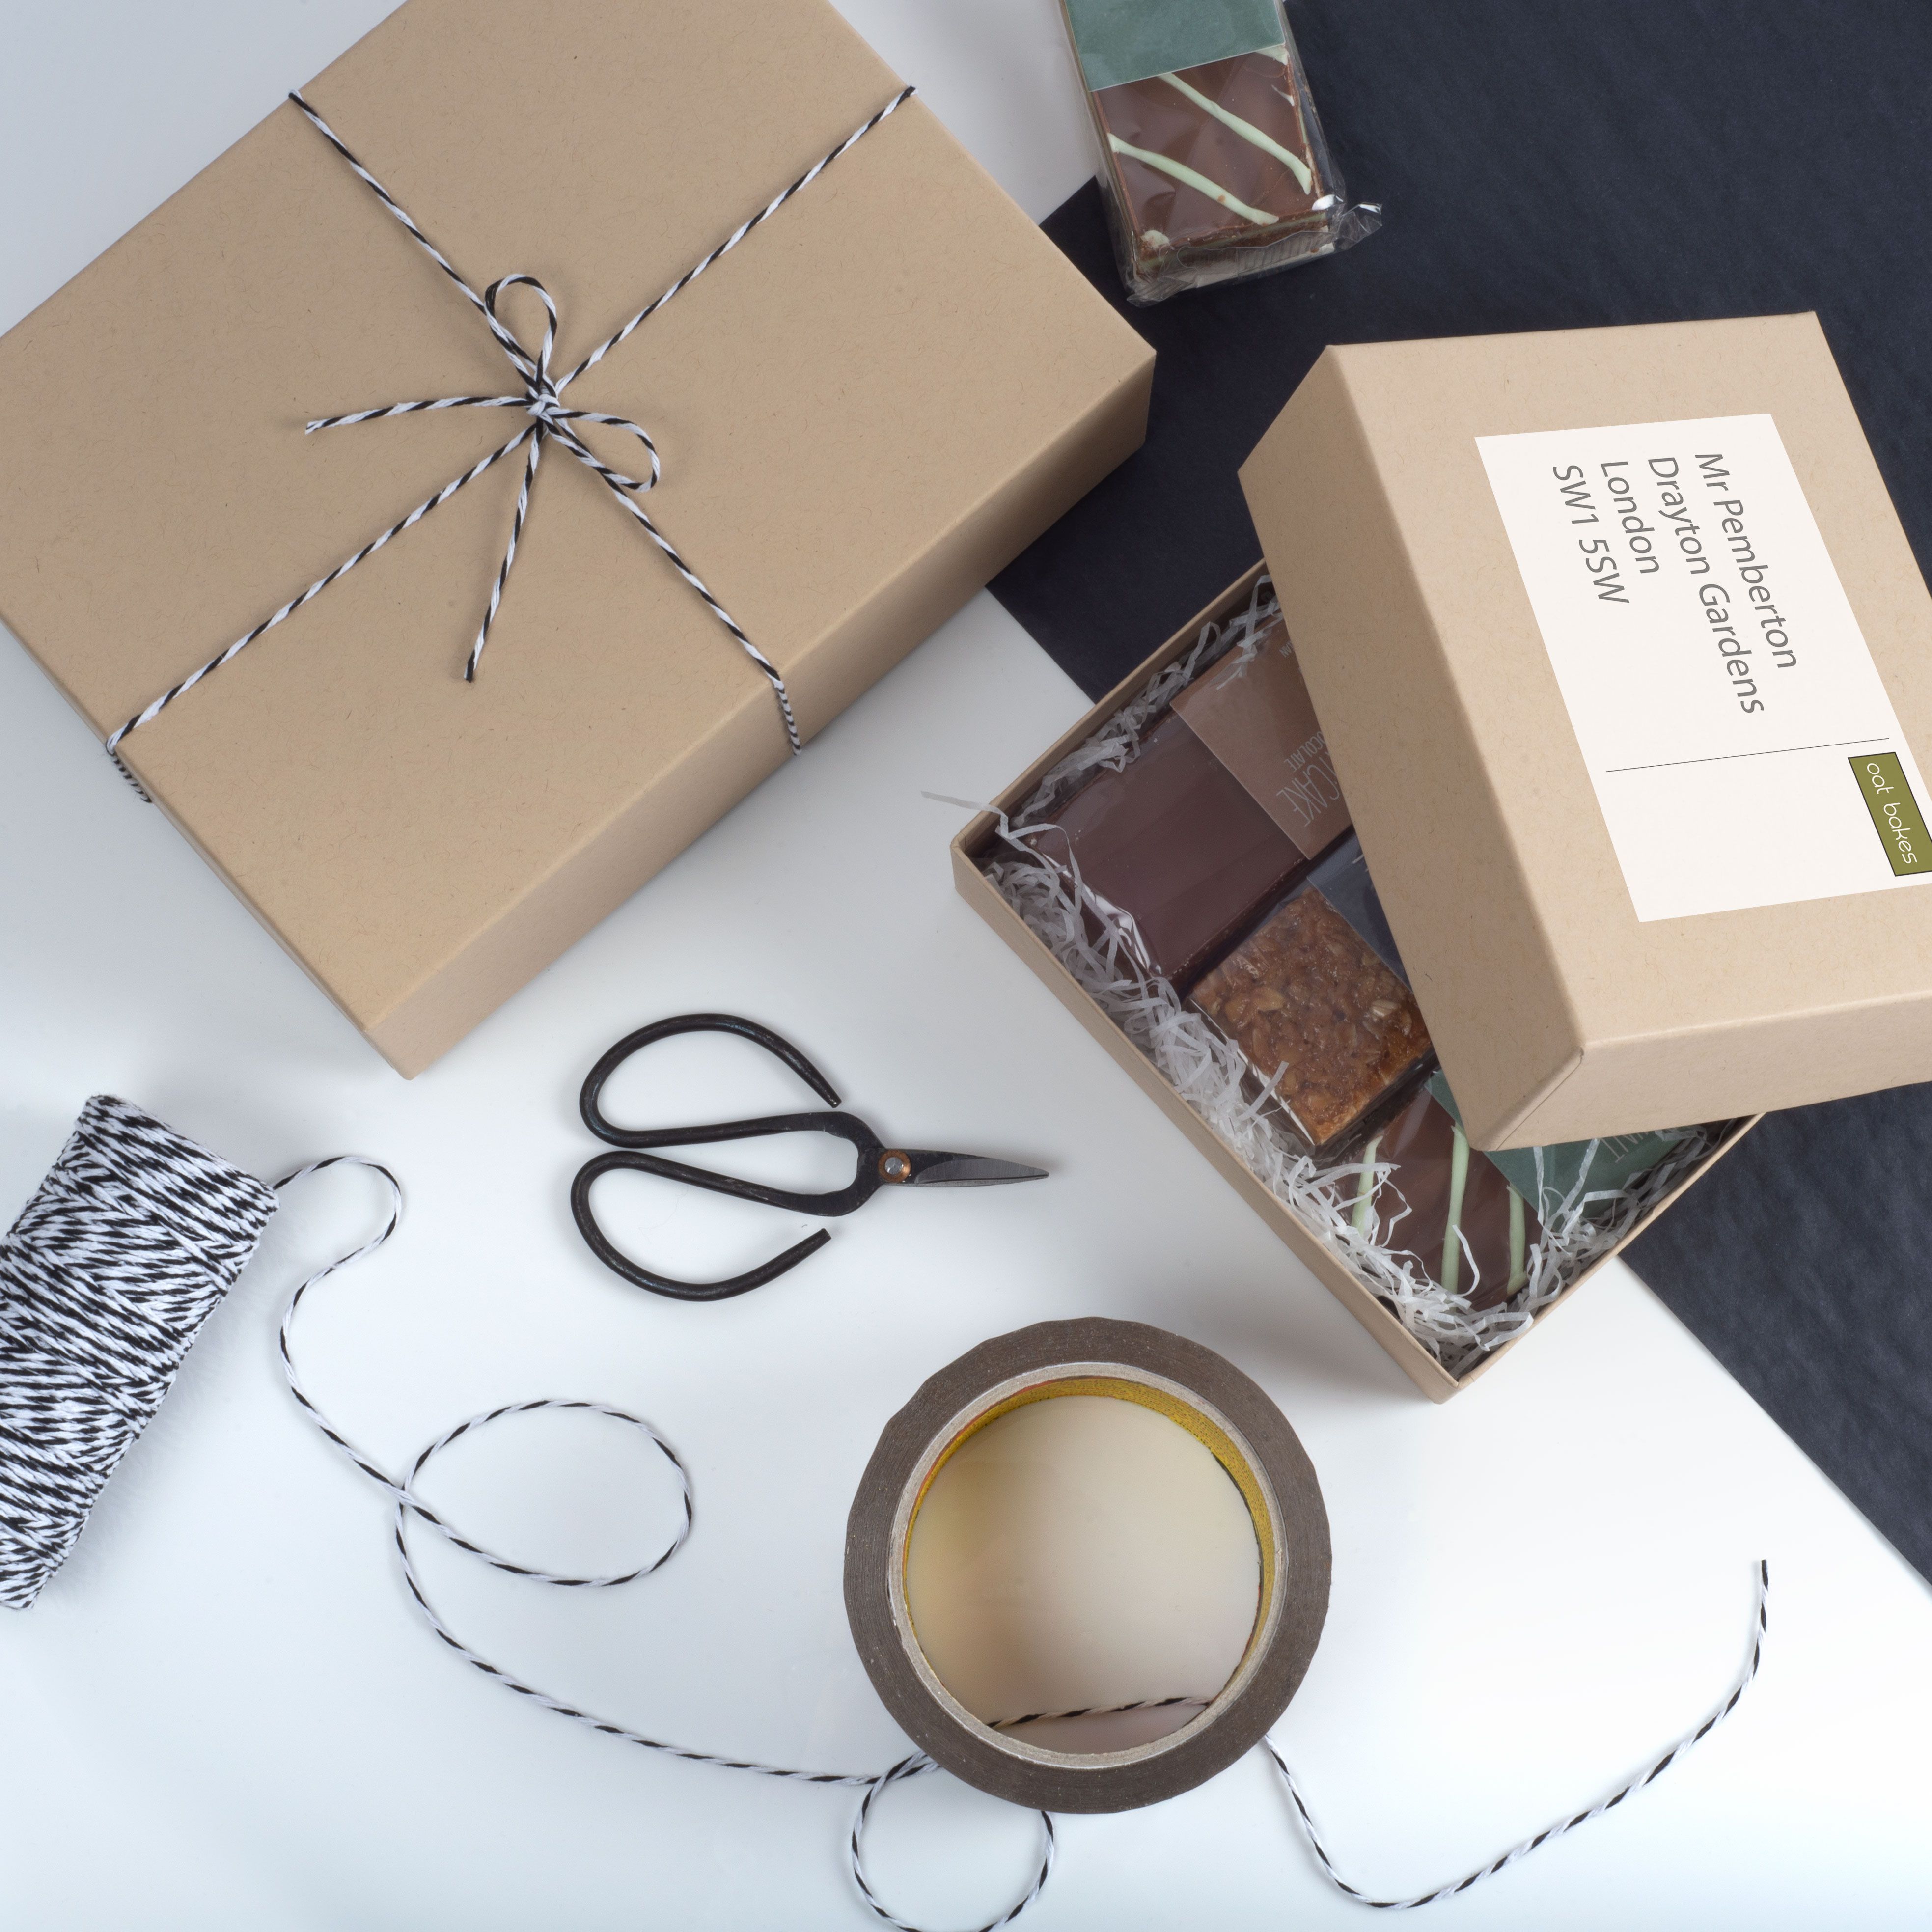
Labels, pouches, and barcode do’s & don’ts
Do:
- Reserve a clean label zone at least 150 × 100 mm
- Keep barcodes flat, smooth, and away from corners
- Use “Documents Enclosed” or return-label pouches on the flattest face
Don’t:
- Seal over labels
- Run labels across openings or tape seams
- Put barcodes on glossy or highly textured wraps
If the scanner can’t read it, neither can your courier’s patience.
Foam-free inserts that still protect on the way back
- Use card or moulded pulp collars, U-cards, and platforms to control movement
- For candles and bottles, add edge or corner pads instead of deep void-fill
- Keep overall height down so the return stays inside band
Less bulk, less bounce, less drama.
Build a simple returns kit (customers will actually use)
Label options, instructions, and reseal cues:
- Include either a pre-printed return label or a QR/URL that generates one
- Say which it is on the packing slip, don’t make customers guess
- Print a short instruction line on the flap: “Peel blue liner to reseal. Remove old label. Apply new label here.”
- Add a small pull tab so the second liner lifts cleanly (glove-friendly = bonus points)
Help customers re-pack without adding bulk
- Print simple icons inside the lid showing the fold sequence and insert order
- Add a mini checklist: remove old label → re-seat insert → reseal strip 2 → apply new label
Think IKEA clarity, not instruction-manual despair.
Train your team and close the loop
Returns bench card (A6, taped to the table):
- Confirm band target (letterbox-style or small-parcel-style)
- Pick carton with double-seal; check strip 2 is present
- Add card/pulp insert (foam only if essential)
- Place label on clean panel; pouch if needed
- Pack in return label or QR + brief instructions
- Seal strip 1
- Photograph top and label side for records
First-week audit:
- Log returns with surcharges or damage
- Tag the cause: over-thickness, unreadable barcode, weak seal, loose item
- Update SOP notes and share photos of “good returns” in team chat
Seasonal tweaks:
- Gift sets and promos change the game; add temporary rows to your matrix, dry-fit early, and retire them once the season ends
Mini matrix: common SKUs → returns-ready picks
Keep this printed at the pick face, with a photo of the label zone for each carton.
- Ring box + pouch: Letterbox-style → PIP double-seal + 2 mm riser & board backer
- Candle Ø78 × 90: Small-parcel-style → Mailer-S double-seal + collar, 5 mm platform, corner pads
- Scarf (folded): Letterbox-style → PIP double-seal + 1 mm board backer
- Serum 30 ml ×2: Small-parcel-style → Crash-lock-S double-seal + U-cards and sleeve
Short codes. Clear photos. Zero guesswork.
Ready to get started?
Explore our range of Postal boxes →