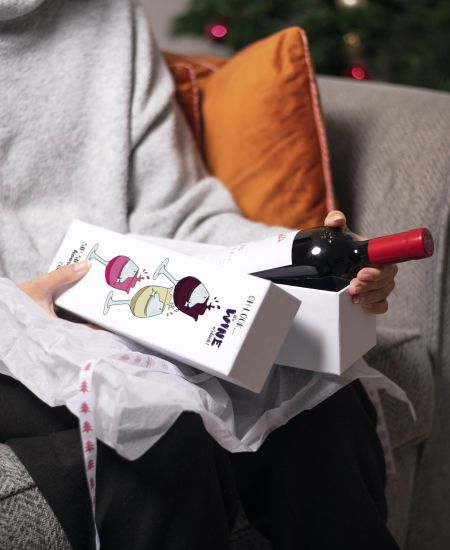
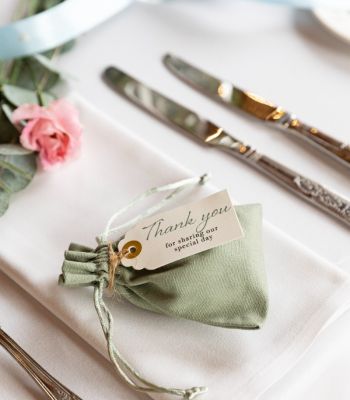


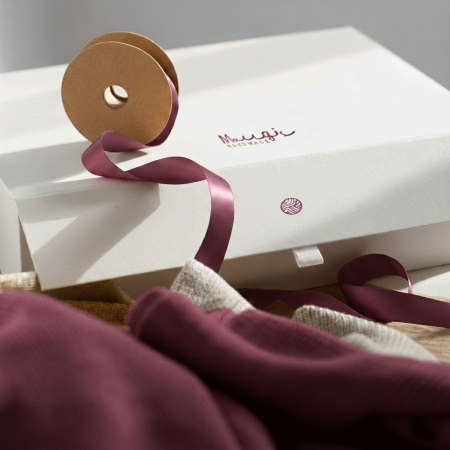
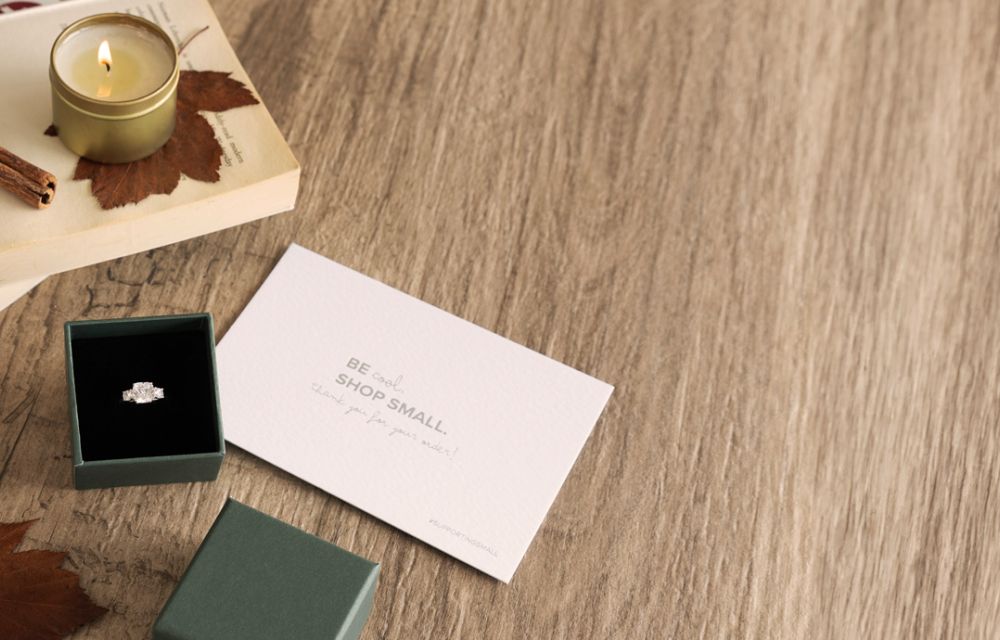
Bespoke inserts that protect and present
If you’re a UK independent or small business, whether you’re a maker, jeweller, beauty brand, or corporate gifter, this guide is for you. It’s a practical, no-nonsense walkthrough of how to choose and specify inserts that keep products safe in transit and look spot-on when the box is opened.
We’ll cover foam and foam-free inserts, sizing and fit, colour and finish, lid pressure, quick bench tests, and simple quality checks. No industry waffle. Just what works, so your packaging pulls its weight without dropping the ball (or the candle).
Haven’t chosen your gift boxes yet?
Browse our range of gift boxes →
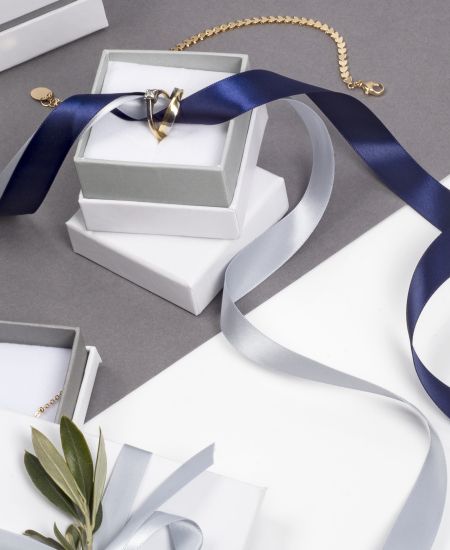
What a great insert must do
Protect the product, present it beautifully, and speed things up
A well-designed insert should:
- Hold the product steady: A snug but forgiving fit that stops movement without forcing things in.
- Create space where it matters: Keep items away from hard edges, and from each other.
- Absorb knocks and drops: Cushioning that helps products arrive in one piece.
- Prevent scuffs and scratches: No rub marks, dye transfer, or mystery micro-scratches.
- Show the product at its best: Think finger-lifts, pull tabs, and clean, symmetrical layouts.
- Make packing quicker: Clear orientation and a true “drop-it-in” fit, no wrestling required.
Common insert problems (and easy fixes)
- Rattles when shaken: Cavity too loose → tighten the fit or add gentle “kiss-fit” ribs.
- Scuff marks on the product: Sharp corners or rough edges → add small radii or a liner.
- Colour transfer: Dark foam touching light products → use a white facing and run a 24-hour contact test.
- Crushed or tight lids: Insert too tall → reduce the height or add a seating ledge so the lid closes cleanly.
Foam vs foam-free inserts: which should you choose?
We’re materials-agnostic. The right choice depends on your product, your values, your budget, and how quickly you need to move.
Foam inserts at a glance (EPE, EVA, PU)
| Foam type | Feel | How it’s cut | Look in the box | Good to know |
|---|---|---|---|---|
| EPE (expanded polyethylene) | Firm, springy | Die-cut, waterjet | Clean, matt | Lightweight and protective. Recycling options vary—check local guidance. |
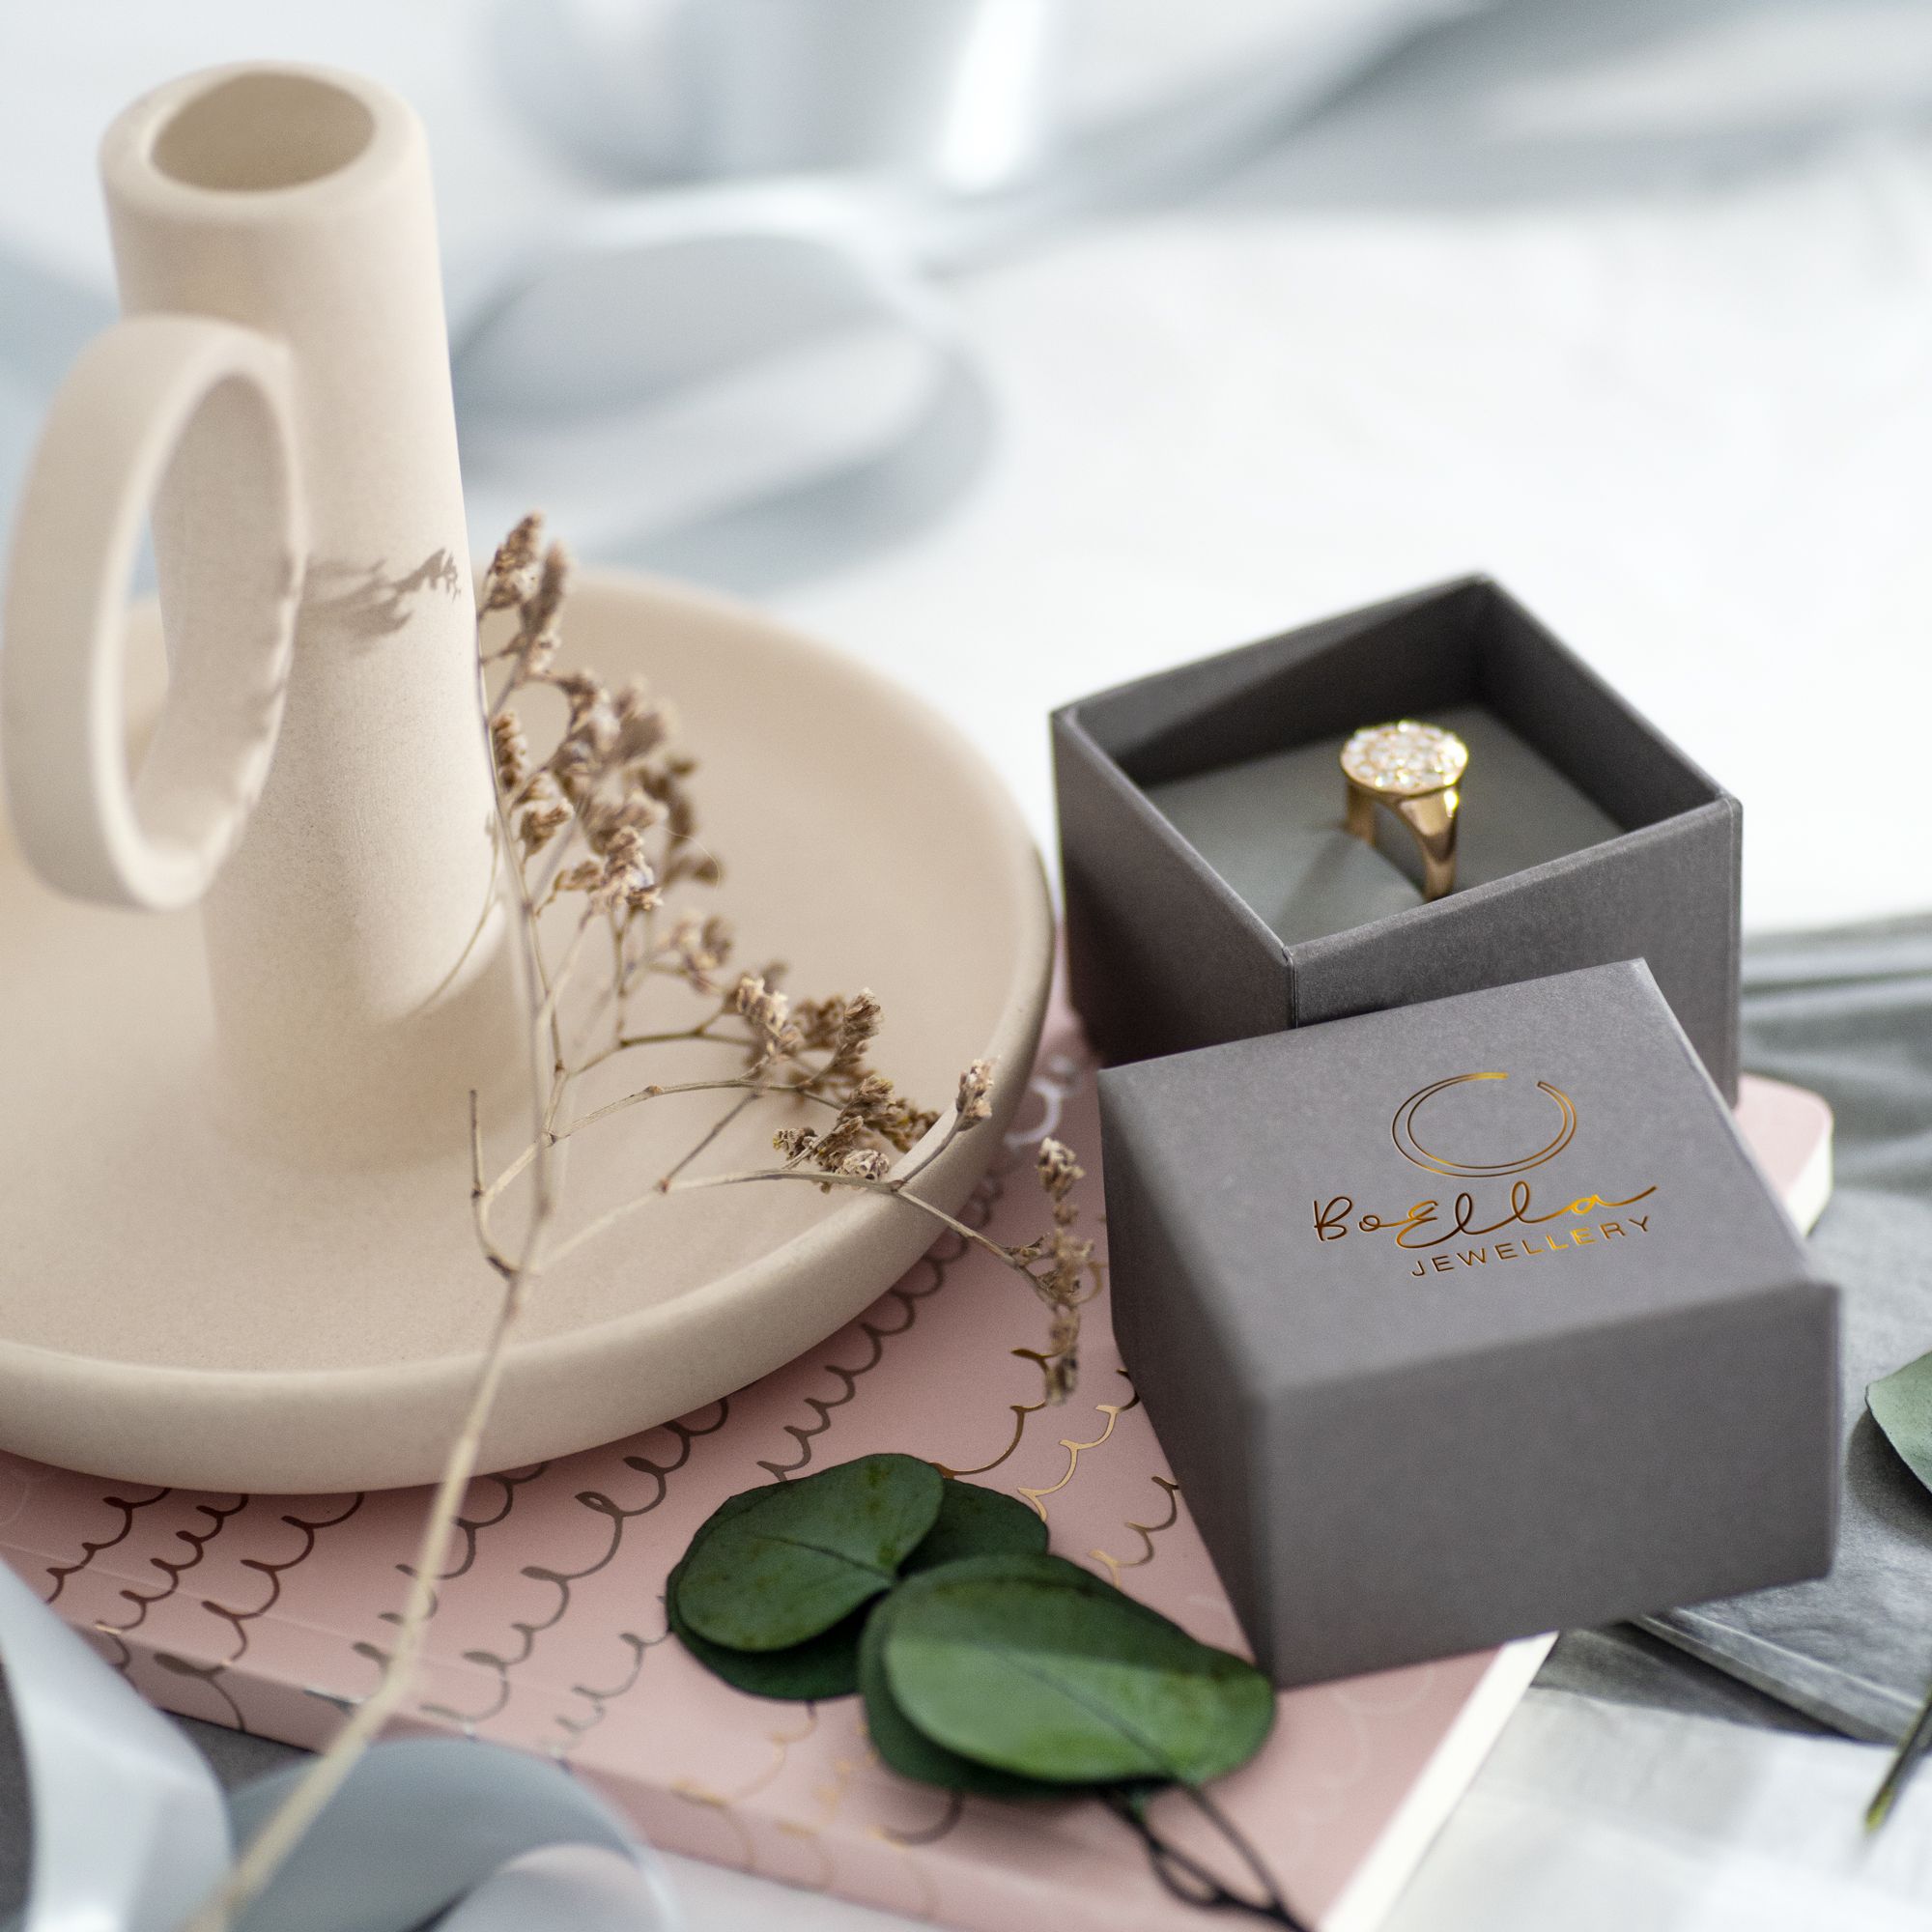
| EVA (ethylene-vinyl acetate) | Dense, precise | Die-cut, laser, waterjet | Crisp, premium | Ideal for custom foam inserts for boxes where accuracy matters (jewellery sets, kits). |
| PU (polyurethane) | Soft, sponge-like | Die-cut | Plush, cushioned | Popular for foam inserts for jewellery boxes. Use a facing sheet for high-polish metals. |
Finish tips: Black foam looks luxurious but can show dust (especially in product photos). White foam looks clean but shows handling marks more easily. For photography-friendly results, a white foam insert for a jewellery box, or a coloured card liner on top of black foam, often hits the sweet spot.
Odour and rub checks: Ask for low-odour foam grades, always test with 24-hour contact on a spare product, and include disposal guidance where possible.
Getting the geometry right
Clearances, radii, finger-lifts, and multi-item layouts
- Cavity clearance (solid items): Aim for 0.5–1.0 mm all round. For fragile glass (candles, bottles), allow 1–2 mm plus a soft liner.
- Depth: Products should sit 2–3 mm below the top surface to avoid lid contact.
- Radii: Add 1–2 mm internal curves to protect finishes and make insertion easier.
- Finger-lifts: Use 10–12 mm wide notches or ribbon pulls, with rounded edges.
- Multi-item sets: Leave 6–10 mm between items so they don’t knock together.
- Shared bases: A single base with swap-out top pieces works well for seasonal or changing ranges.
Lid pressure and the “no-rattle” test
- Target: A silent shake at arm’s length. If it rattles, add a low-tack top pad or increase height by 0.5–1.0 mm.
- Lid fit: Inserts should support the product, not fight the lid. The lid should close flush, without bowing or force.
Sampling, testing, and sign-off
- Start with CAD drawings for layout and dimensions.
- Request a PPS (pre-production sample) using your actual product.
- Drop test: 3 drops each on base, edge, and corner from 30–60 cm. No cracks, no crushed corners, no movement beyond 1 mm.
- Shake test: 30 seconds of firm shaking. Listen for rattle; check for new marks.
- Rub test: 24-hour contact under 250–500 g weight on the most delicate surface.
- Extraction feel: One-hand lift, no tug-of-war.
Colour, liners, and photography checks
- Test black vs white vs coloured liners under daylight and warm lighting.
- Shoot a quick product photo. Dust, reflections, and colour cast show up fast on camera.
Cost, MOQs, and lead times (the practical bit)
Where each option usually wins:
- Foam (EPE/EVA/PU): Fastest route to custom foam inserts for boxes, great accuracy, strong option for small to mid-sized runs.
- Pulp or card: Strong sustainability message, efficient for larger volumes once tooling is spread out.
A simple savings example:
- Current damage rate: 3% on a £30 product = £0.90 lost per unit
- Improved insert adds £0.35 per unit
- Damage drops to 0.5% = £0.15 loss per unit
Net saving: £0.40 per unit, plus fewer returns, happier customers, and better reviews. (Nice little win, neatly boxed.)

Handover and quality checks
What to include in your spec pack:
- Annotated drawings (dimensions, depths, radii, finger-lifts)
- Material details (foam type/density or card/pulp spec)
- Colour, liner, and facing notes
- Tolerances (guide: cavity ±0.5 mm, overall ±1.0 mm)
- Required tests and pass/fail criteria
Goods-in checks:
- Visual: clean cuts, no crumbly edges, colour matches approval
- Dimensional: spot-check 1 in 20 on key sizes
- Functional: quick shake test, there should be no noise
Need gift boxes to get started?
Browse our range of gift boxes →