


Why lid and base boxes misfit (and how to fix it)
A poorly fitting lid and base box wastes time, stock, and patience. The good news is that most fit problems come down to three things you can control: how you measure, what materials you choose, and the tolerances (planned clearances) you allow.
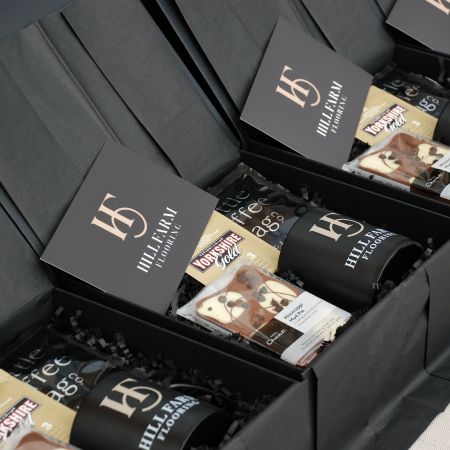
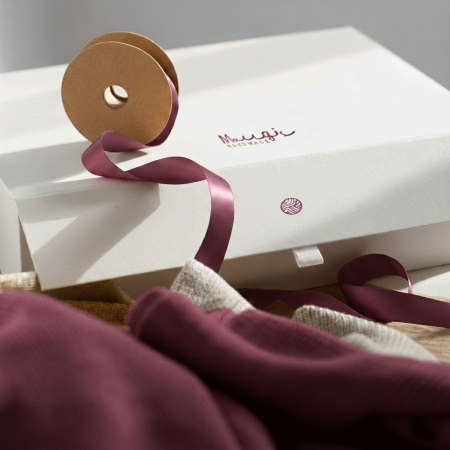
Ready to choose your gift boxes?
Explore our range of gift boxes
Crush, rattle, bowing, and lid bounce: the real causes
- Crushed lids: Usually caused by lid depth being too shallow for the base height, ignoring insert stack-up, or using an over-tight wrap that adds friction.
- Loose or rattling fit: Too much clearance, no insert to restrain the product, or a lid that is too deep, creating springy “lid bounce”.
- Corner blow-outs: Board caliper is too light for the box size or product weight, or a lid is forced on too tightly.
- Board bowing: Large lids made from thin board or exposed to moisture swings, worsened by uneven lamination tension.
- Insert swell: Foam, card, or pulp inserts add thickness. If not included in height calculations, the lid will not seat correctly.
The three variables that control fit
- Contents: The true length, width, and height of the product or set, including tissue, sleeves, dust-bags, risers, or platforms.
- Materials: Greyboard thickness and wrap paper weight, finish, and lamination all affect internal size and lid friction.
- Tolerances: The deliberate breathing room added so the lid fits smoothly without crushing or rattling.
Measure your product properly
Length × width × height for single items, irregular shapes, and sets:
- Always write measurements as L × W × H in millimetres, for example 200 × 300 × 50mm.
- For regular shapes, measure the maximum points, such as candle diameter or bottle height.
- For irregular shapes, measure the bounding box, the smallest rectangle that fully contains the item.
- For sets, measure the final arranged footprint, including gaps between items.
Allowances for tissue, wraps, and inserts:
- Add 1–2mm per side for tissue or silk wraps, meaning 2–4mm overall on length and width.
- Add the full thickness of risers, collars, or platforms to the internal height.
- Measure sleeves or dust-bags with the product inside, not the bare item.
Set clearances and tolerances
Recommended internal clearance by box size
| Box size | Typical product | L & W clearance (per axis) | H clearance |
|---|---|---|---|
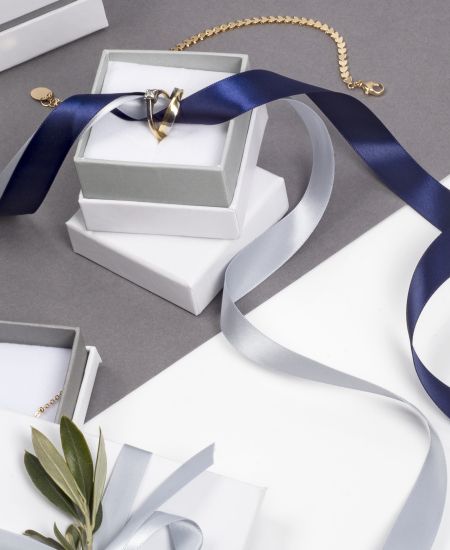
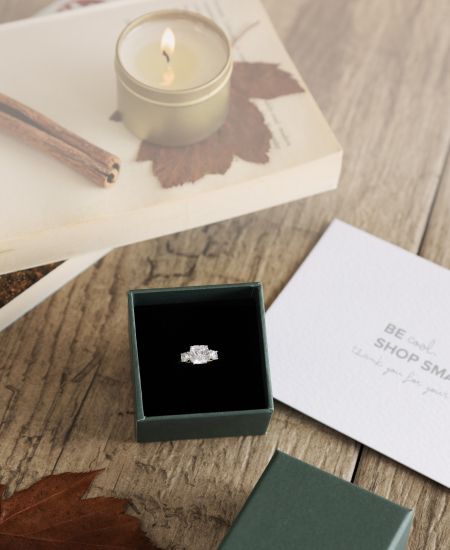
| Small (up to 120mm) | Jewellery | +2–3mm | +3–4mm |
| Medium (120–250mm) | Candles, beauty | +3–5mm | +4–6mm |
| Large (250mm+) | Apparel, bottles | +5–7mm | +6–8mm |
If you are adding tissue or sleeves, use the upper end of each range.
Lid depth versus base height: simple rules
- General rule: lid internal depth should be 45–55% of the base external height.
- Jewellery boxes: use 35–45% to avoid lid bounce.
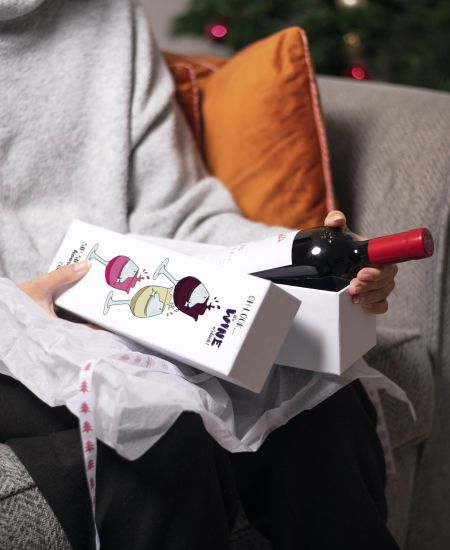
- Tall candles or beauty products: use 50–60% for stability.
- Plan 0.5–1.0mm side clearance between lid inner walls and base outer walls.
Materials that change the fit
Board thickness and wrap friction:
- Rigid greyboard typically ranges from 800–1200gsm, roughly 1.2–2.0mm thick.
- Larger or heavier products should use the thicker end of the range.
- Wrap papers at 120–157gsm add around 0.10–0.20mm per layer.
- Matte, soft-touch, and uncoated wraps grip more than gloss finishes.
Eco choices: kraft, recycled board, and aqueous coatings:
- Recycled and kraft boards work well when specified correctly; test large lids for bowing.
- Aqueous coatings reduce stickiness, improve recyclability, and help maintain smooth fit.
Inserts and supports
- Card risers and platforms: Support products and reduce overall box height.
- Collars: Limit side movement for jars and bottles.
- Fit impact: Every millimetre of insert thickness reduces headroom and must be included.
Sample, test, and approve
Golden sample checks
- Shake test: contents should not rattle.
- Lid drop test: lid should glide smoothly, not snap shut.
- Diagonal squeeze: no creaking or bowing.
- Rub test: no obvious colour transfer.
Record ambient temperature, humidity, results, and photos.
The quick fit calculator
- Internal length = product length + clearance.
- Internal width = product width + clearance.
- Internal height = product height + inserts + headroom.
- Lid depth ≈ 50% of base external height, adjusted by category.
Checklists you can print
A. Measurement checklist
- Measure L × W × H at maximum points.
- Add thickness for wraps, sleeves, and inserts.
- Choose board thickness and wrap finish.
- Select the clearance band.
B. Specification sheet template
- Base internal dimensions and lid internal depth.
- Board gsm and wrap finish.
- Insert stack-up and clearances.
- Test results and approvals.
C. Goods-in quality check
- Inspect cartons and measure internals.
- Run shake, lid drop, and squeeze tests.
- Check colour rub and record conditions.
Ready to choose your gift boxes?
Explore our range of gift boxes
Take a deeper dive into custom fitting boxes
Read our article on custom fit from CAD to sample without surprises