


Who this guide is for
Owner–managers and ops‑minded buyers at UK independents and SMEs working with collapsible rigid boxes (also called foldable rigid boxes, flat pack rigid boxes and magnetic gift boxes). You need a fast, tidy SOP that keeps corners tight, tapes invisible and lids aligned, all with eco‑smart materials.
Outcome: clean, square, premium collapsible boxes assembled at pace, with fewer rejects and happier hands.
Not sure which gift box you need?
Explore our range of gift boxes →
Want more information on bespoke inserts?
Bespoke inserts that protect and present →
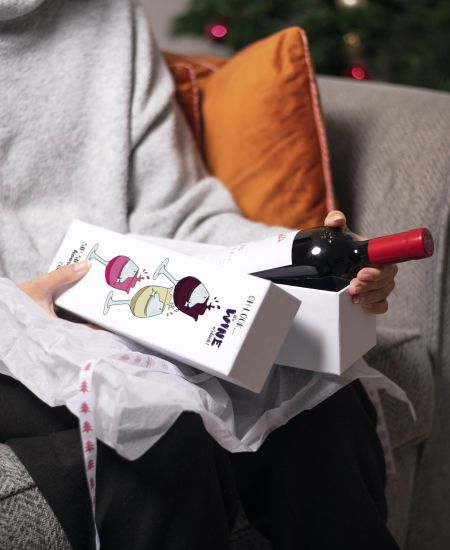
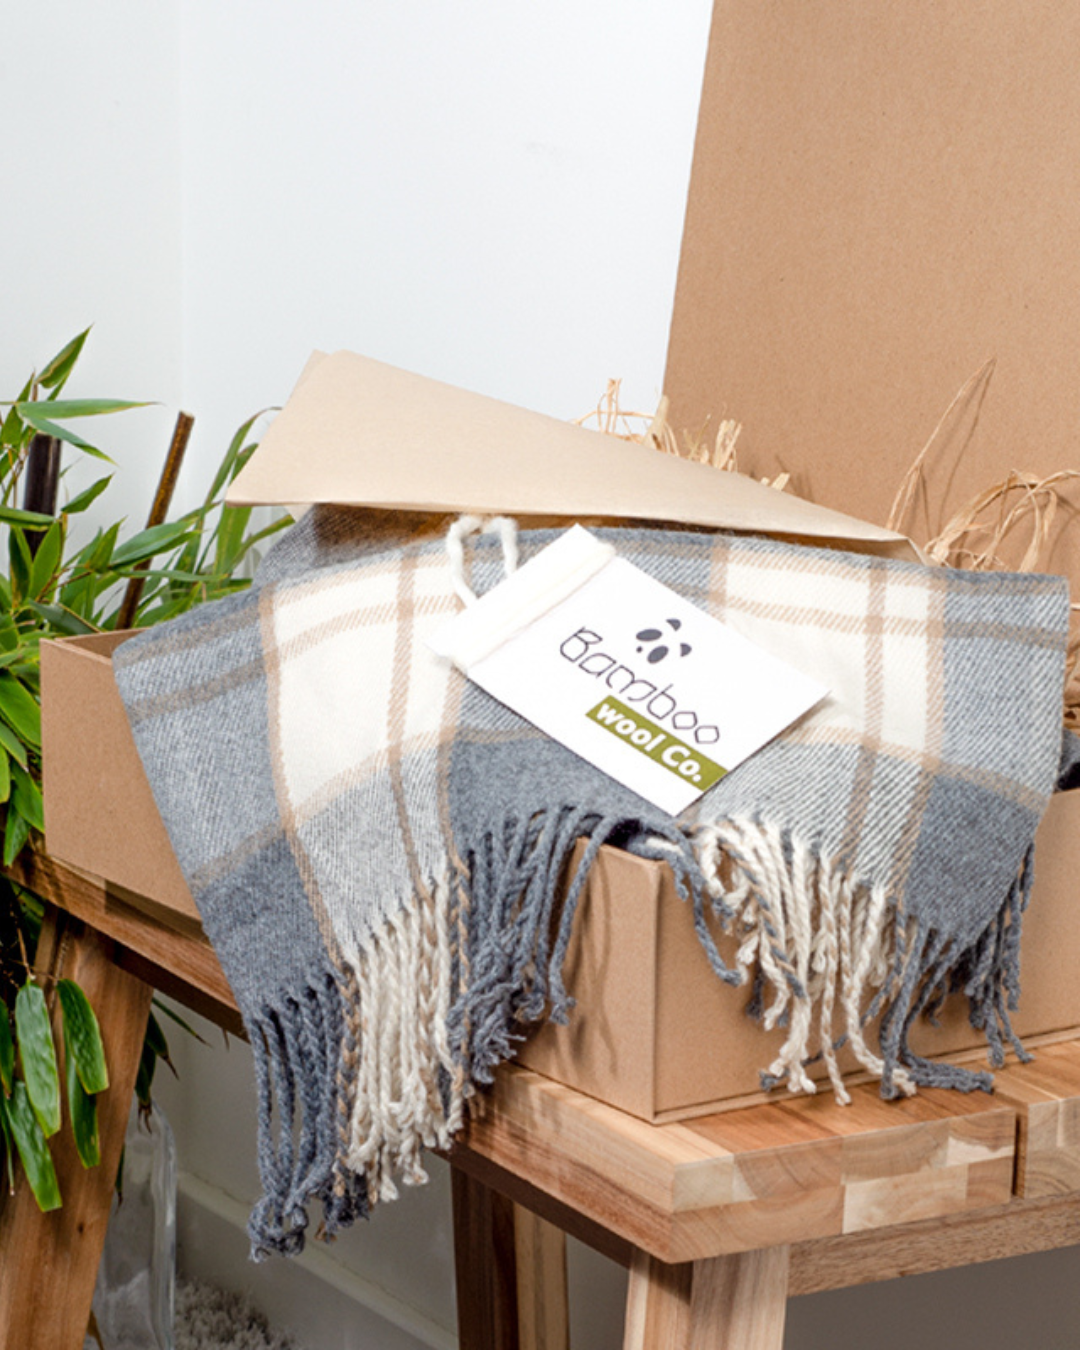
What “clean assembly” looks like
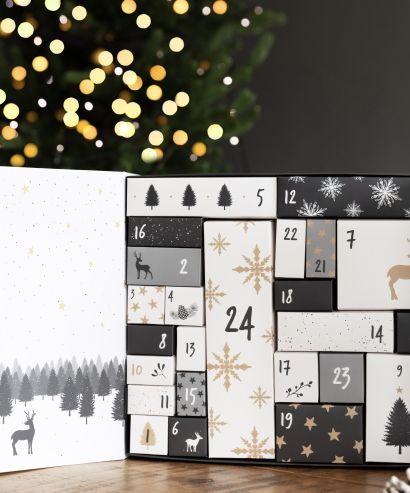
Premium cues: square edges, seamless wraps, aligned magnets
- Sqaure & true: faces sit flat, corners sharp; diagonals match within tolerance.
- Seamless tape lines: no bubbles/silvering; tape fully bonded edge‑to‑edge.
- Aligned magnets and hinges: lid meets base with a positive, centred “click.”
- Unbroken wraps: no cracking along fold lines; colour consistent across panels.
Common failures and their root causes
- Tape bubbles/silvering: low pressure, cold room, dusty panels, or aggressive curves over tape voids.
- Corner lift: short dwell, low‑tack tape, hands off sequence (corners not locked).
- Magnet misalignment: polarity/position not checked pre‑build; hinge skew.
- Wrap cracking: sharp score with brittle wrap or cold fold; no pre-crease radius.
- Skew or out-of-square: uneven bench pressure, rushing the centre-out press.
Prep your space and materials
Climate, bench set‑up, tools and lint‑free practice:
- Room: 18–22 °C, 45–55% RH. Cold = poor adhesion; humid = creep.
- Bench: smooth, clean, lint‑free cloth; keep panels dust‑free (microfibre wipe).
- Tools: silicon/teflon roller, bone/teflon folder, lint roller, small square, soft cloth, light weights.
- Pre‑flight: remove transit bands; dry‑fit one unit with no tape to understand folds and hinge.
Tape types, tack, pressure and dwell basics
- Pre‑applied double‑sided tapes (common): pressure‑activated. Use firm, even passes with a roller.
- PSA transfer tapes (bench‑applied): choose high‑tack acrylic for low‑temp rooms.
- Pressure: 2–3 roller passes centre‑out to edges; avoid finger pokes that create local high spots.
- Dwell: rest assembled units 2–5 min under light weight so adhesives wet‑out.
The step-by-step method
Open, align, press centre-out, lock corners
- Open & square: lay box flat interior‑up; unfold panels and check magnet polarity by gently bringing lid/base together.
- Peel strategically: expose half the liner on each tape run (leave a pull‑tab) so you can reposition if needed.
- Align base plane: bring side panels up to 90° with the base; pinch lightly at the centre only.
- Press centre‑out: with a roller, press from the panel centre to edges to drive air out; then peel the remaining liner and repeat.
- Corner lock: lose corner triangles/tabs in sequence; roller pass along each corner seam; finish with a bone folder to seat edges.
- Hinge check: half‑close the lid; verify no skew and magnets attract centrally. Adjust before final passes.
- Final burnish: 2 slow, even passes on all seams; wipe with a soft cloth. Place under light weight for dwell.
Lid/hinge alignment checks and final burnish
- With the lid at 45°, push to close: it should track straight and meet flush on all sides.
- If it “walks” sideways, re‑open panels and correct hinge bias before tapes fully cure.
Avoiding bubbles, lift and wrap cracking
Tape silvering prevention; fold radius and scoring tips
- Warm the work: if room <18 °C, warm panels to ~20 °C before pressing.
- Clean contact: lint‑roll the tape zone; oils create micro‑channels that appear as silvering.
- Fold radius: pre‑crease with a bone folder to create a gentle radius, reducing wrap stress at the fold.
- Balanced bends: press opposing panels in similar sequence to avoid torsion.
Edge protection and handling technique
- Hold by inner faces, not wrapped edges.
- Use a soft mat for stack‑down; interleave with tissue to prevent rub on soft‑touch/uncoated wraps.
- Never drag corners across the bench. Lift and place.

Speed, training and QC
Time targets, batching and simple jigs
- Training target: 90–120 sec/box in the first hour.
- Steady‑state target: 60–90 sec/box once trained, using batching (peel all liners → align → roll → burnish).
- Jigs: simple right‑angle blocks keep panels at 90° for consistency; a thin press board helps apply uniform pressure.
- Ergonomics: set tape‑liner bin to your non‑dominant side; stage stacks within forearm reach to reduce motion.
First‑10 QC list and rework thresholds
Check the first 10 assembled units before scaling:- Square/diagonals: equal within ≤1 mm (small/medium) or ≤1.5 mm (large).
- Magnet alignment: lid self‑centres; no overhang > 0.5–1.0 mm.
- Tape bond: no visible bubbles/silvering; seams fully adhered end‑to‑end.
- Wrap integrity: no cracking at folds; colour consistent; edge fibres seated.
- Lid slide/feel: smooth, single‑motion close; no stutter or skew.
- Rework vs reject: bubbles < 10 mm from an edge may be re‑burnished once; repeated failure = reject and adjust process.
Eco‑smart materials & finishes
Recycled boards, aqueous coats, mono‑material wraps
- Choose recycled greyboard matched to format; higher caliper for larger boxes prevents panel flutter.
- Prefer aqueous coatings over plastic laminates for recyclability and lower friction build‑up.
- Mono‑material wraps (uncoated/matte with aqueous) give a luxury look and reduce contamination in recycling.
Rub resistance and colour consistency checks
- For dark wraps, run a 10‑stroke rub test on a white card, no obvious pick‑off.
- Photograph a built unit under D50/D65 light alongside your golden colour swatches for record.
After assembly: store and ship safely
Stack limits, interleaves, light/humidity guidance
- Stack no more than 6–8 units per column for small/medium formats; use interleaves (tissue or kraft sheets).
- Keep in RH 45–55%, 18–22 °C; avoid direct sunlight on soft‑touch/uncoated wraps.
Brief transport notes to prevent scuff/deform
- Pack with corner protectors or buffer sheets; orient so lids aren’t rubbing; avoid over‑tight strapping that dents edges.
Ready to get started?
Explore our range of gift boxes →