


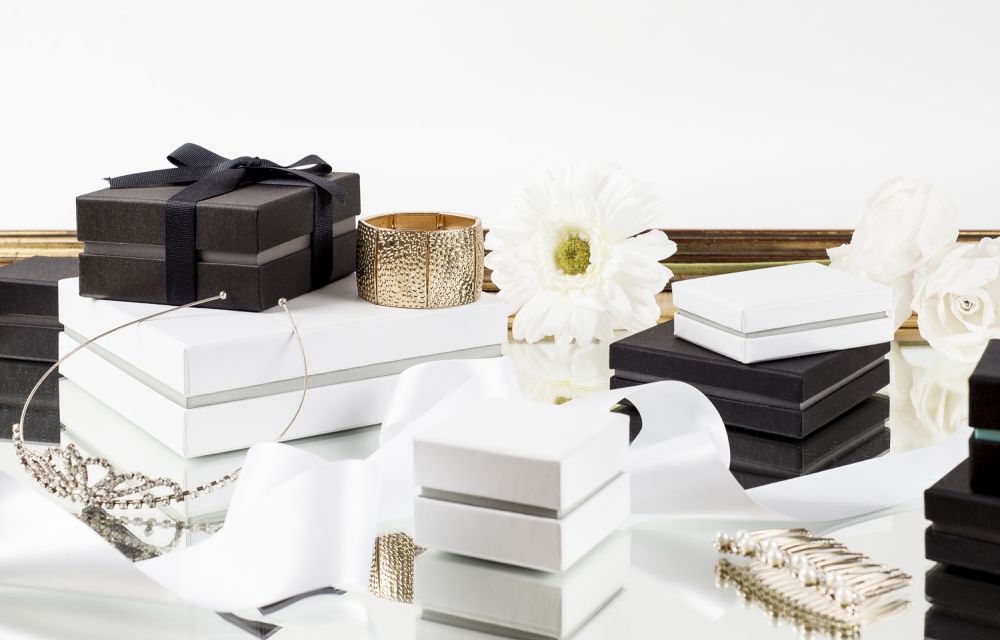
Who this guide is for
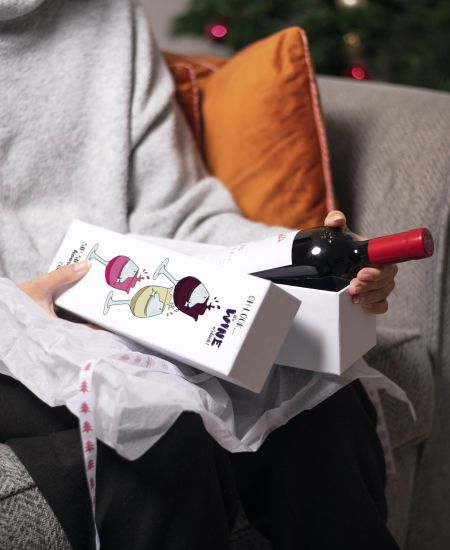
This guide is designed for owner-managers and operations-focused buyers or product leads at UK independents and small-to-medium enterprises (SMEs) working in jewellery, beauty and candles, boutique fashion, and corporate gifting. It’s especially helpful for teams who use shoulder box packaging (also known as shoulder-and-neck rigid boxes) to provide a premium unboxing experience every time.
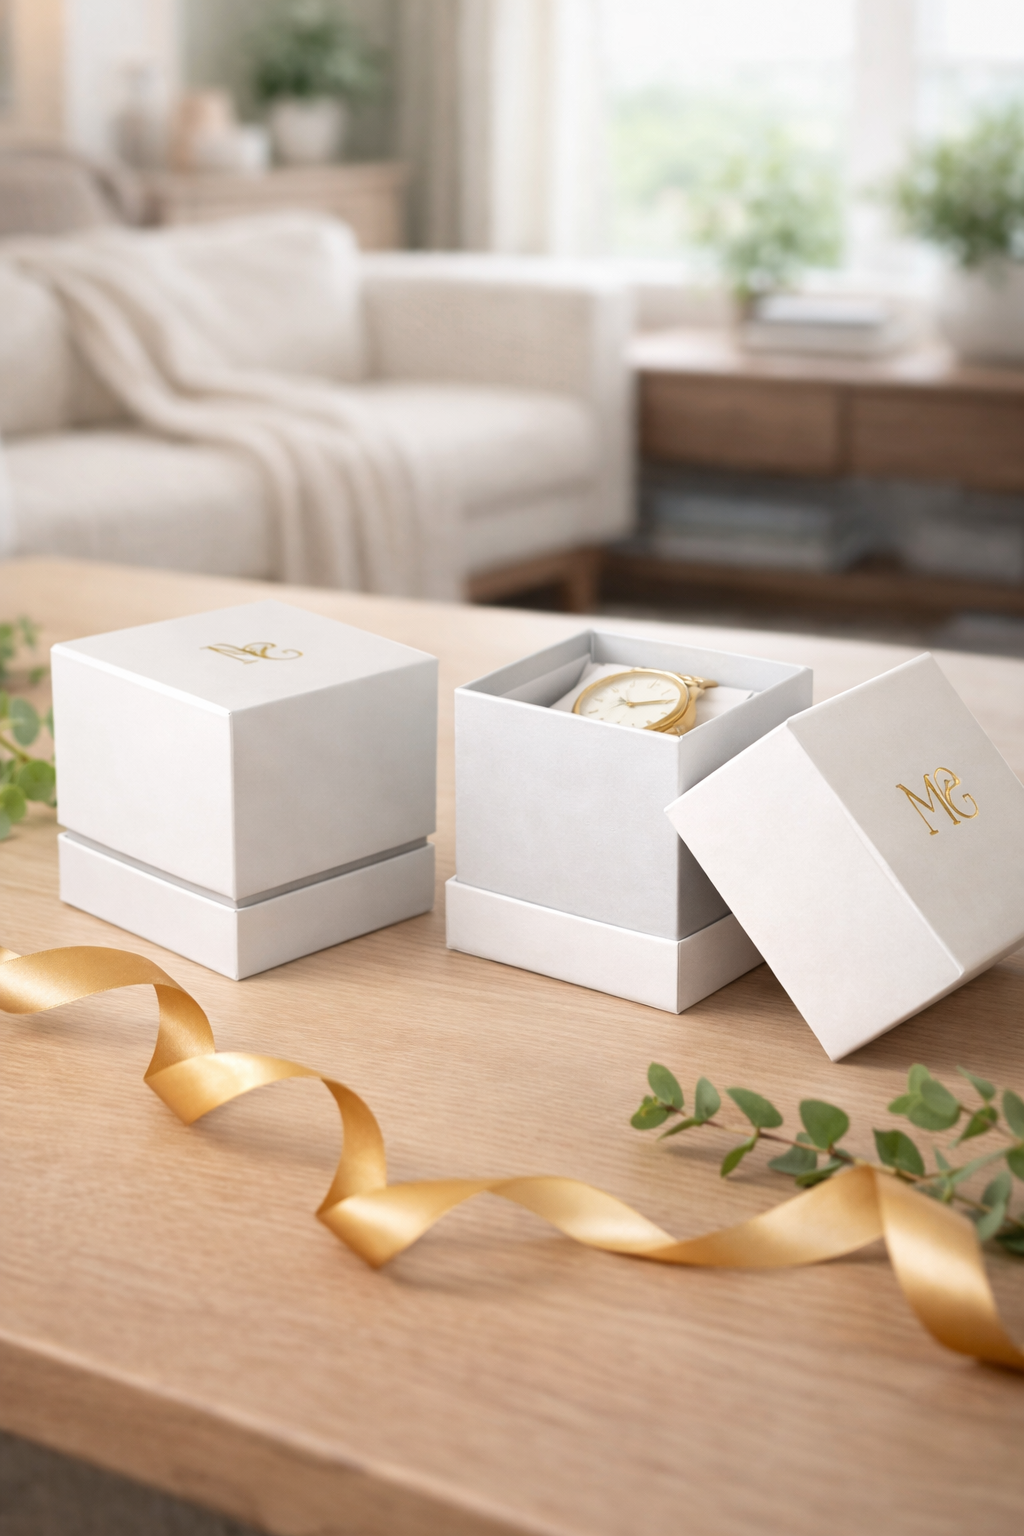
Outcome: Custom shoulder boxes that arrive perfectly square, close smoothly and cleanly, resist rubbing and scuffing, and maintain a consistent look across all stock keeping units (SKUs).
Not sure which gift box you need?
Explore our range of gift boxes →
Want more information on collapsible boxes that assemble cleanly?
Next up: Collapsible set-up boxes that assemble cleanly→
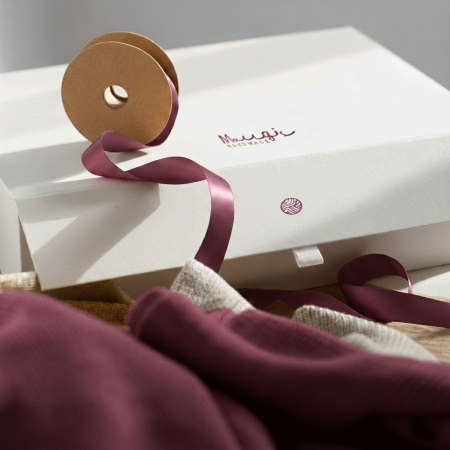
What makes a shoulder box feel premium
- Even reveal: This is the visible band of the shoulder that shows around the lid. For small to medium boxes, 3 to 6 millimeters (mm) looks elegant. For larger boxes, aim for 5 to 8 mm.
- Clean slide: The lid should glide on with low, even friction. It should meet the shoulder without rocking or scraping the wrap material.
- Crisp corners and flat surfaces: Corners should be sharp with no flare or bending. All faces of the box should sit flat so any foil stamping or embossing looks sharp and clear.
- Consistent finish: Colour and texture should match perfectly across the lid, shoulder, and base, with minimal edge wear or colour loss.
Common problems and their causes
- Lid rock: Happens when the neck (the part under the lid) is too tall or not squared properly, the reveal is uneven, or the wrap/laminate causes too much friction given the side clearance.
- Corner flare: Caused by poorly burnished (pressed and sealed) corners, wrap material creeping out, too little or too much glue, or the grain of the board resisting folding.
- Bowing or warping: Results from uneven wrap or coating application, heavy glue with insufficient drying time, humidity fluctuations, or using board that’s too thin for the box size.

Specify the box geometry
Use these starting points, then adjust depending on box size and wrap finish:
| Box Size (Longest Side) | Shoulder Reveal (Visible Band) | Neck Height Above Base | Lid Internal Depth vs Base External Height | Base Rise (How Much Shoulder Sticks Out) |
|---|---|---|---|---|
| Small (≤120 mm) | 3–6 mm | 4–6 mm | 40–50% | 1–2 mm |
| Medium (120–250 mm) | 4–7 mm | 5–8 mm | 45–55% | 1.5–2.5 mm |
| Large (≥250 mm) | 5–8 mm | 6–10 mm | 50–60% | 2–3 mm |
Rules of thumb:
- The neck should clear the inside of the lid by 0.5 to 1.0 mm per side (depending on the finish) so the lid closes smoothly without scraping.
- Lid depth affects both appearance and stability. Deeper lids feel more luxurious but may increase friction... balance this with enough side clearance.
- Base rise means the shoulder should stick out slightly beyond the base wrap, helping the lid fit cleanly.
Allowances for wrap thickness, coatings, and inserts
- When calculating the reveal, add the thickness of the wrap material, adhesive, and how much the wrap turns in on structural parts.
- Soft-touch and uncoated wraps increase friction, so increase side clearance by about 0.5 mm.
- Inserts such as platforms, collars, or risers should stop 2–3 mm below the underside of the lid when closed to avoid clashing with the shoulder.
Materials and finishes that keep their shape
- Board thickness: Use greyboard between 800 and 1200 grams per square meter (gsm), roughly 1.2 to 2.0 mm thick. Use thicker boards for larger boxes or heavier contents like candles; thinner boards suit smaller jewellery boxes. Recycled or kraft boards work well if you control warping properly.
- Coatings: Prefer aqueous coatings for a recyclable, low-odour finish. Plastic laminates improve rub resistance but can increase friction and show edge lines. Test before specifying.
- Wrap selection: A wrap weight of 120–157 gsm is ideal. Stiffer, tighter fibres reduce corner fluffing. Uncoated or matte finishes look premium; adding an aqueous sealer helps prevent rubbing on dark colours. Soft-touch finishes feel luxurious but require more side clearance.
- Grain direction: Align the grain along the longest panel to reduce curling and keep grain consistent across lid, shoulder, and base for a clean look.
Assembly and adhesive best practices
- Glue choice: Use PVA glue for wraps and either hot-melt or strong PVA glue for neck and shoulder bonds. Avoid over-wetting glue and apply an even film, not puddles.
- Pressure and drying: Apply firm pressure with rollers or press boards for 20 to 60 seconds. Then, lay the boxes flat under weight for 15 to 30 minutes so moisture balances out.
- Prevent warping: Wrap opposing faces in a balanced sequence, keep humidity at 45–55% relative humidity (RH) during setup, and avoid heating just one face.
Corner wrapping and burnishing
- Miter corners accurately at about 45 degrees with a 1–2 mm overlap (land). No raw board should show.
- Wrap turn-ins should be tight and edges burnished with a Teflon or bone tool to press fibres down firmly. Check corners for “ears” (loose bits) and re-burnish before the glue dries.
- Wipe away any glue squeeze-out immediately to prevent shiny spots or “gloss halos” on matte wraps.
Inserts and interference checks
- Use foam-free card or pulp platforms and collars sized to clear the shoulder plane. Add finger notches or ribbon lifts to help remove inserts without putting pressure on the neck.
- Test fit with the heaviest product variant plus tissue or sleeves in place. The product should not lift the lid or leave pressure marks on the shoulder after a gentle shake.
Sample and quality control like a pro
- Square: Measure diagonals of the open base tray. They should match within 1 mm for small/medium boxes, 1.5 mm for large boxes.
- Reveal uniformity: Measure shoulder reveal at four points; variance should be no more than 0.5–1.0 mm depending on size.
- Lid slide: With the lid half-on, it should slide smoothly under light continuous hand pressure with no stuttering or scraping.
- Drop and rattle: Drop the box gently from 100 mm onto a bench (with product/inserts inside). There should be no lid bounce or rattling sounds.
- Rub/edge check: Lightly rub edges 10 times on a white card, no visible colour loss or transfer.
Document your golden sample and acceptance criteria
Label one unit GOLDEN SAMPLE with: internal dimensions, reveal targets, board thickness, wrap stock and finish, insert stack-up, colour references, and the QC measurements above. All future deliveries should match this sample exactly.
Keep boxes square in storage and transit
- Let stacks rest flat for 24 hours after wrapping to stabilise.
- Store cartons upright, stacking no more than 8–10 kg per layer for small and medium boxes. Increase cautiously for large boxes with interleaving sheets.
- Maintain humidity between 45% and 55% RH and temperature between 18°C and 22°C. Acclimatise boxes for 12 to 24 hours before packing to avoid lid tightness.
- Use corner protectors or interleaved boards. Arrange cartons so lid faces don’t rub against each other during transport. Tape cartons loosely to avoid crushing corners.
Ready to get started?
Explore our range of gift boxes →