


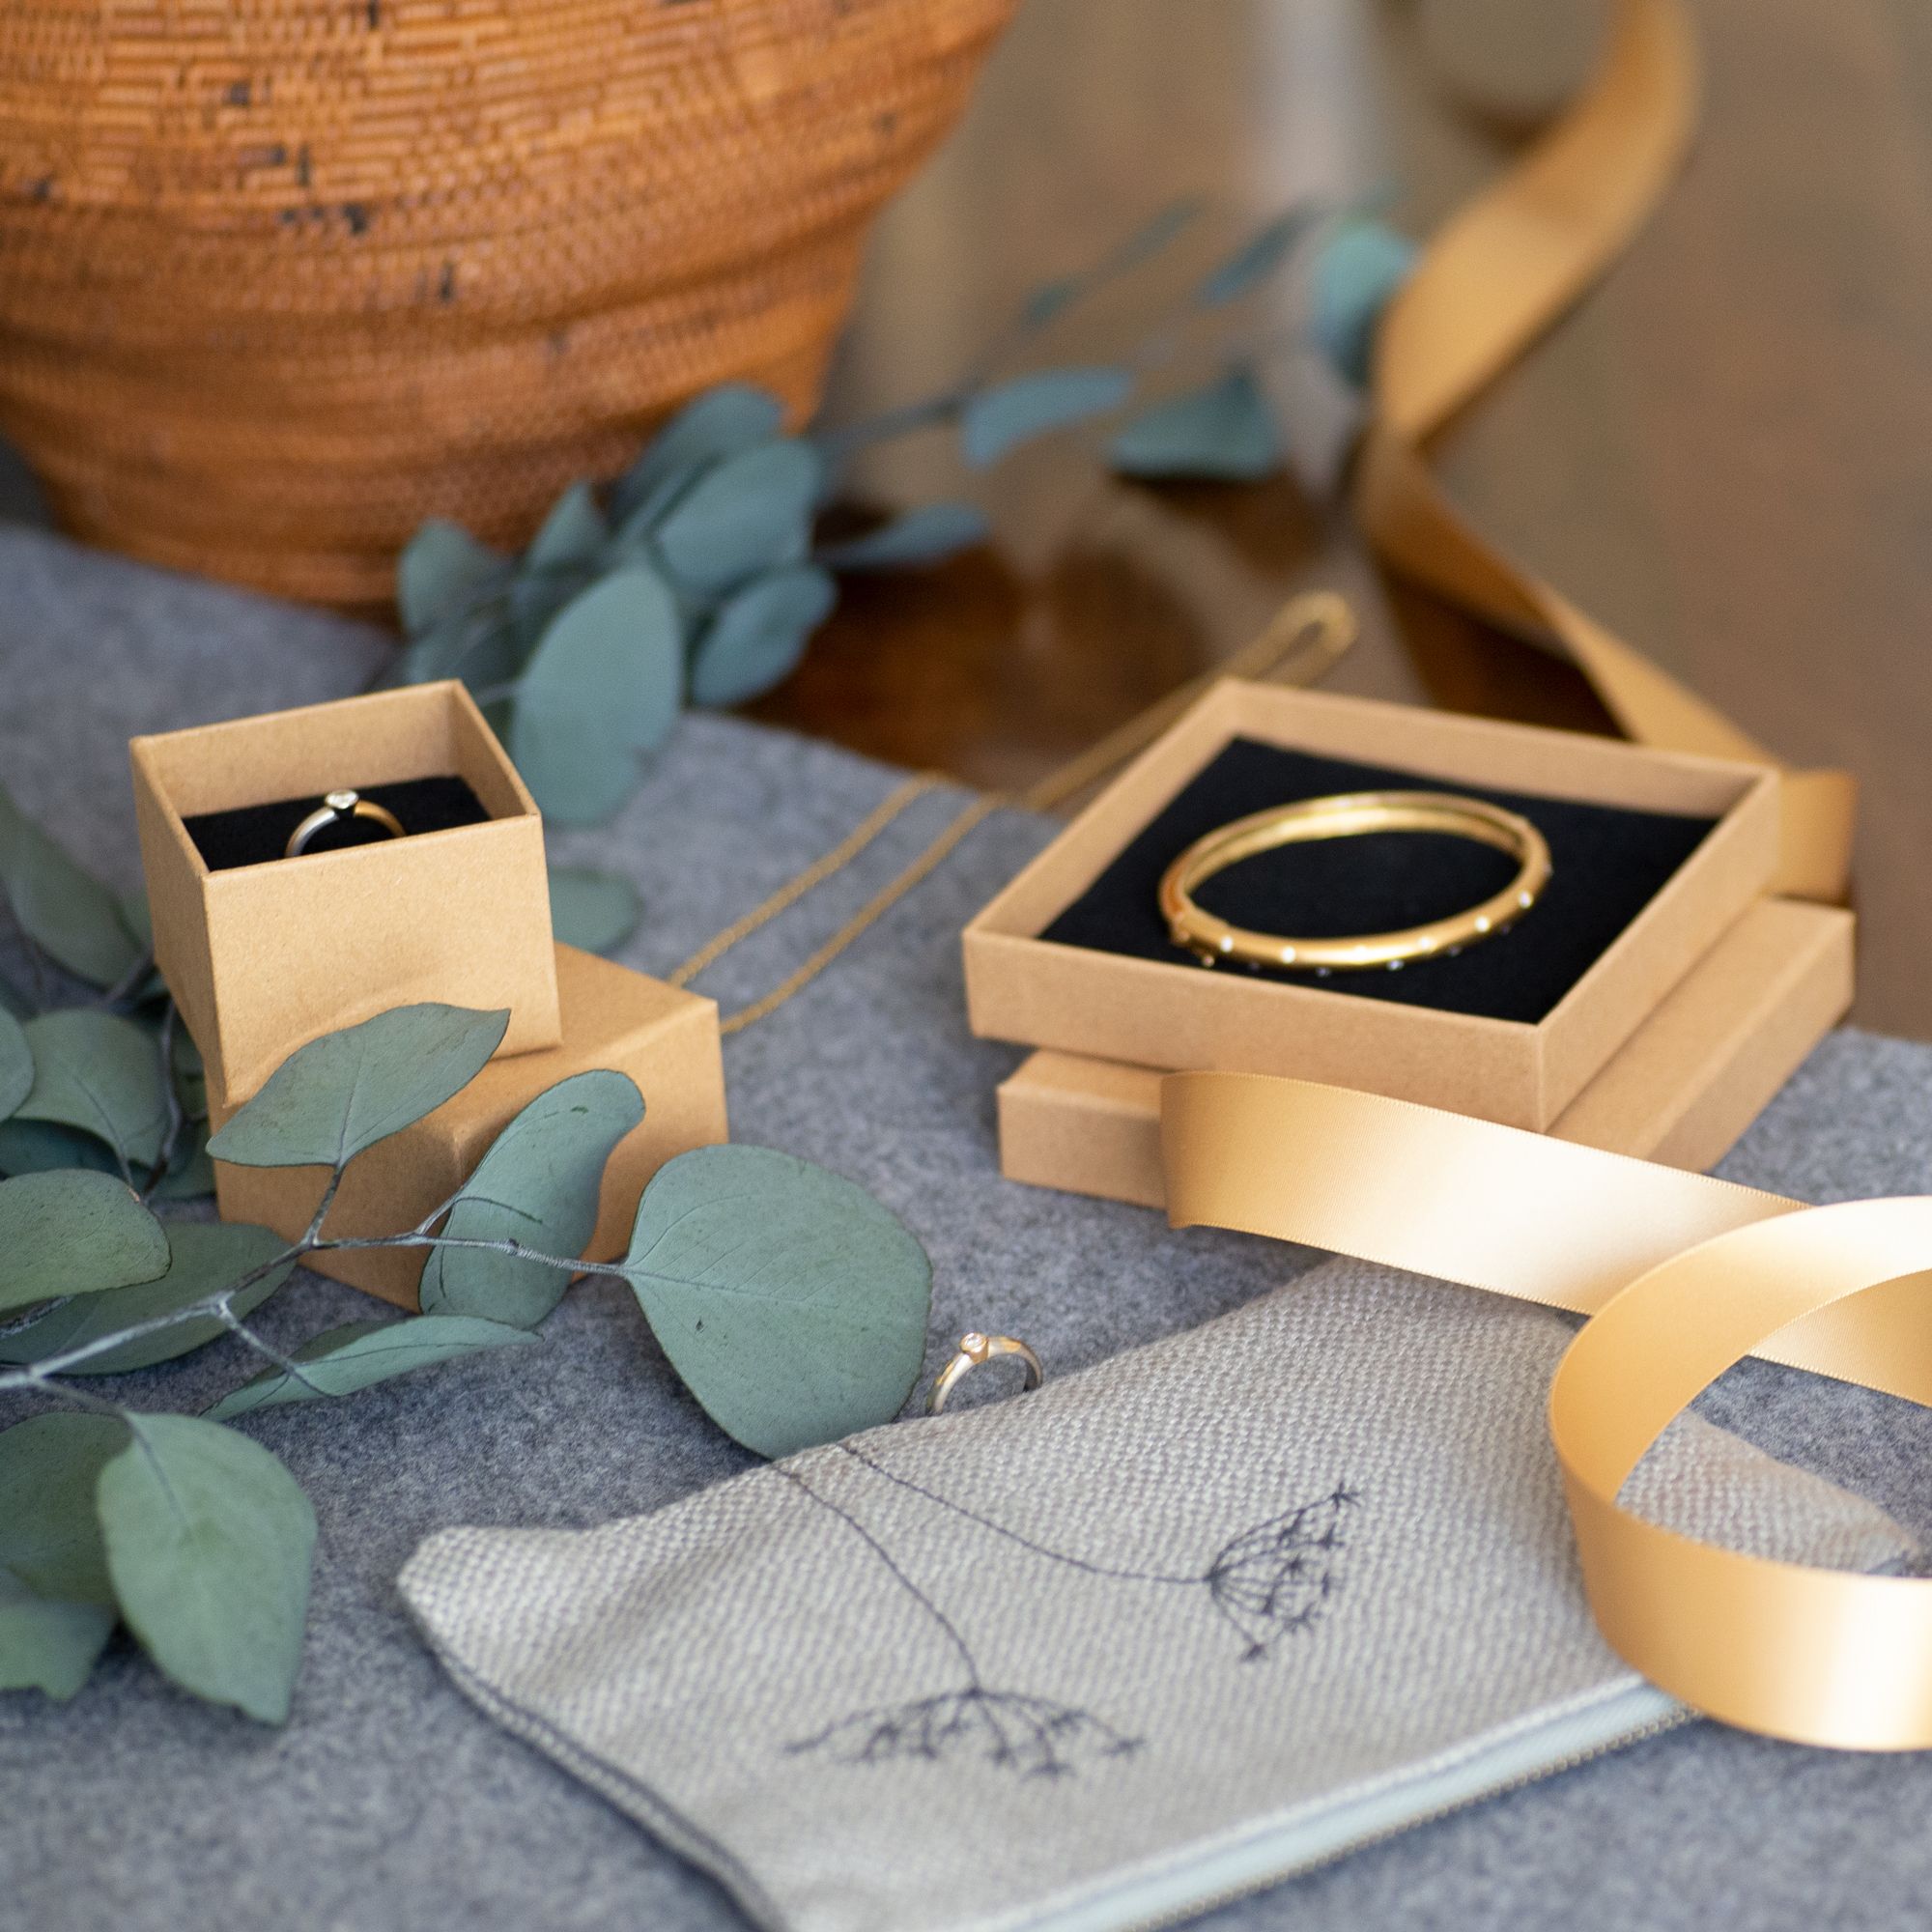
Who this guide is for
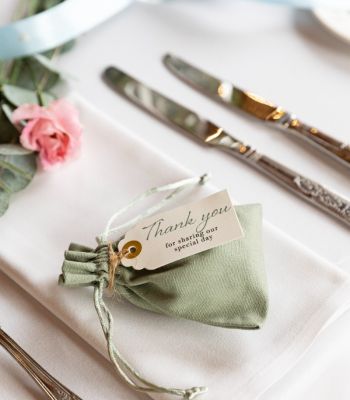
UK small business owners, creators, and makers selling jewellery, candles, beauty, fashion, or gift sets.
If you’re turning a finished product into custom printed gift boxes or bags and want them to fit properly, print cleanly, and get approved first time, this guide is for you.
You do not need to be a packaging expert. You just need a process that works.
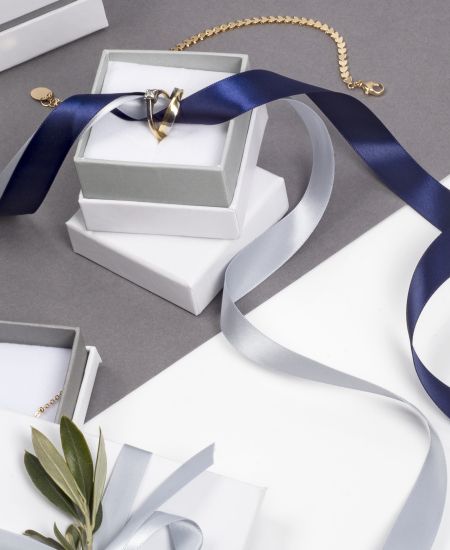
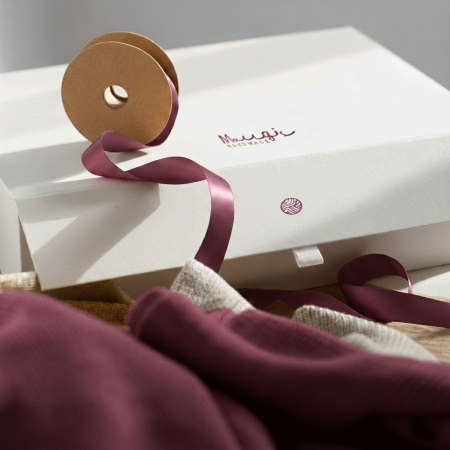
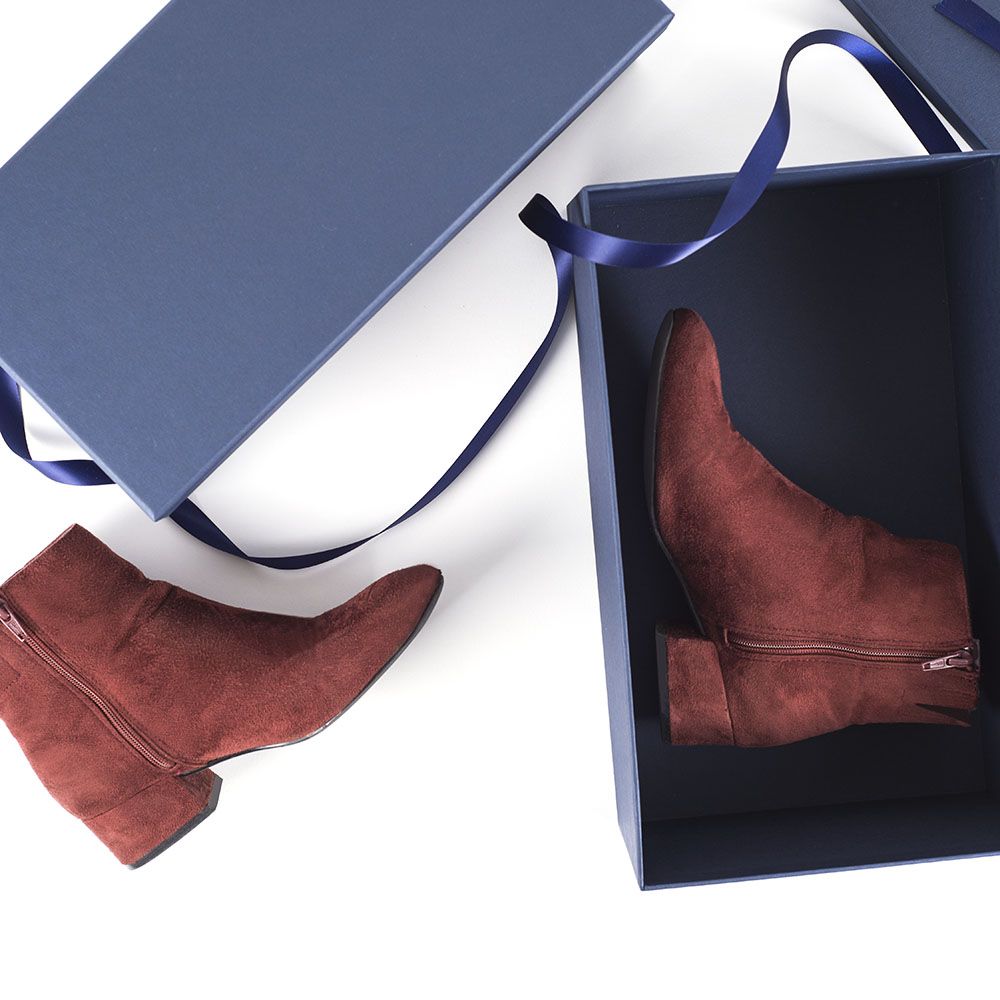
Looking for gift boxes to get you started?
Explore our range of gift boxes →
What you’ll get
A clear, no-surprises packaging CAD workflow, from first brief to signed-off sample, without the guesswork:
- A step-by-step route from brief → dieline / 3D → proofs → pre-production sample (PPS) → golden sample
- Practical fit and tolerance rules that actually work for rigid boxes and bags
- Straightforward colour sign-off steps (Pantone vs CMYK, digital vs wet proofs) you can complete in an afternoon
- Templates and checklists: CAD brief, 3D checks, PPS quality control, and golden-sample handover
The result: fewer reworks, smoother approvals, on-time launches, and rigid boxes that slide together cleanly, not like they’re having an argument.
Start with a CAD brief that removes guesswork
Good packaging starts with a clear brief. Think of this as the instruction manual that stops your box going off-script later.
Measurements, weights and inserts (what to send)
Send one email or shared folder containing:
- Product dimensions (L × W × H in mm) measured at the widest and tallest points
Include photos of items on a ruler if you can - Weights of each item and the full packed set
- Insert plan, for example collar, platform or riser, with expected material (card or pulp) and thickness in mm
- Target internal box size, if you already know it, or reference the fit rules
- Clearance and tolerance targets per side, plus lid depth vs base height preference
- Brand files: vector logos, print specs, artwork at 1:1 scale, 300 dpi minimum for images
- Fonts (licensed) or supplied as outlines
- Barcodes and labels, with sizes and placement
- Sustainability notes, such as recycled board, mono-material inserts, or aqueous coatings
- Deadlines and approvals, including who signs off fit and who signs off colour
More detail here saves time later. Think of it as measuring twice so you only cut once.
Materials, finishes and eco constraints
State these up front, because they affect both fit and feel:
- Board thickness (for example 1.2–2.0 mm greyboard)
- Wrap paper (gsm, uncoated, matte, soft-touch, gloss)
- Coatings (aqueous preferred where possible)
- Decorations, such as foil, embossing or debossing
Different materials behave differently. Some glide, some grip. Your box needs to know which it is.
Ready to learn more about boxes that stay square and feel premium?
Read the dieline like a pro
Packaging dieline definition: A dieline is a 2D technical drawing showing where your packaging is cut, folded, glued and printed. This is what becomes your 3D box or bag.
Cuts, scores, bleeds and glue zones
- Cut lines (solid): where the board is cut through
- Score or crease lines (dashed): folding points, especially important for rigid wraps
- Bleed: extend artwork 3 mm beyond cut edges unless told otherwise
- Safety zones: keep key text and logos at least 3–5 mm inside trims
- Glue areas: avoid ink, foil or lamination here unless approved
- Turn-ins on rigid wraps: wrap thickness shifts visible edges slightly, even by fractions of a millimetre
Tiny details here prevent big headaches later.
3D mockup checks for clashes and pinch points
Before approving any render, check:
- Lid and base clearance: aim for 0.5–1.0 mm side clearance depending on finish
- Insert fit: collars and platforms must clear lid turn-ins and corners
- Edge radii: very tight corners on thick board can crack wraps
- Bag handles and eyelets: confirm hole spacing and reinforcement patches
- Barcode and label areas: allow label size plus at least 2 mm breathing room
If something looks tight on screen, it will be tighter in real life.
Fit and tolerance rules that work in real life
Clearances per side and lid depth
- Small boxes (up to 120 mm): +2–3 mm per side
- Medium boxes (120–250 mm): +3–5 mm
- Large boxes (250 mm+): +5–7 mm
- Small: +3–4 mm
- Medium: +4–6 mm
- Large: +6–8 mm
- Start at 45–55% of the base external height
- Jewellery and shallow sets: 35–45%
- Tall jars and candles: 50–60%
This keeps lids secure without crush or bounce.
Insert compression and wrap thickness
- Always add insert thickness to internal height
- Soft-touch or uncoated wraps create more friction, so add +0.5 mm lid allowance
- Kraft and unlaminated papers grip more, so use the upper clearance range
Your box should close smoothly, not wrestle shut.
Colour sign-off without surprises
Pantone vs CMYK and proof types
- Pantone spot colours: best for brand colours and foils, specify coated or uncoated
- CMYK: supply colour profile and ensure images are 300 dpi at scale
- Digital proofs: ideal for layout and positioning
- Wet press proofs: use when colour accuracy matters, especially on textured stocks, whites or metallics
If colour matters to your brand, do not skip the wet proof.
Colour tolerance and photo records
- Aim for Delta-E 2–3 for brand colours, up to 4 for secondary elements
- Approve under daylight conditions (D50 or D65)
- Photograph proofs next to a neutral grey card and store images in your approval pack
Future you will thank present you for this paper trail.
From CAD to PPS to golden sample
PPS (Pre-Production Sample): The first sample made using final materials and print.
Golden sample: Your signed reference that all bulk production must match.
What to test when samples arrive
Run and record these checks:
- Shake test, no rattle
- Lid drop, smooth glide not sticky snap
- Diagonal squeeze, no creak or bow
- Edge rub, no colour transfer
- Insert removal and re-fit, snug but clean
- Bag handle pull, 10 seconds at working weight
- Barcode scan and label placement
If it fails here, it will fail in the real world.
When a new sample is needed
Request a new CAD and PPS if any of the following change:
- Board type or thickness
- Wrap paper, coating or lamination
- Insert design or thickness
- Cut or score positions
- Print crossing glue zones
- Dimensions or tolerances
Small changes can have big knock-on effects.
Package your approval properly
The golden-sample handover pack
Store everything in one folder and place a printed copy inside the sample:
- Locked CAD PDF and editable dieline
- Signed specification sheet with sizes, materials and tolerances
- Colour references and foil swatches
- Annotated photos showing fit, colour and tests
- QC checklist with dates and initials
- Version log showing who approved what
Versioning and sign-off
Use clear filenames, for example: Brand_Project_Item_SKU_V##_YYYYMMDD
Keep one person approving colour and one approving fit. Too many cooks spoil the box.
Pre-flight checklist before requesting PPS
- Final artwork on the latest dieline
- Bleeds and safety margins correct
- Tolerances clearly noted
- Materials locked in
- Inserts specified with thickness
- Proof type agreed
- Barcodes checked at scale
- Approvers and deadlines confirmed
Looking for gift boxes to get you started?
Explore our range of gift boxes →