
Why "unboxing with a gift bag" works
A well-crafted reveal does more than look pretty. It lifts perceived value, sparks shares, and makes even the smallest order feel like something special. With the right luxury gift bags, matching tissue, and a tidy bow, you get that premium finish. Fast, repeatable, and recyclable.
What you'll learn here:
- A 5-step packing sequence that photographs beautifully.
- How to choose tissue, fillers, and luxury gift bags with ribbon.
- Colour pairing rules for a polished, on-brand look.
- Budget tiers (good/better/best) to lift the feel, without lifting costs.
- Eco-guidance so your whole set-up stays easily recyclable.
Shopping for luxury gift bags?
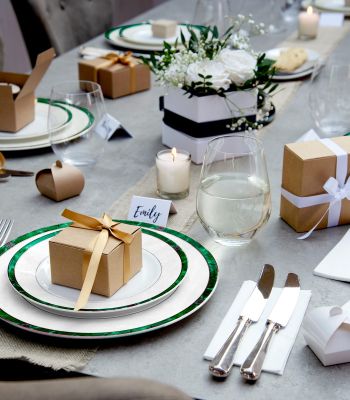
The 5-step gift bag unboxing sequence (6-90 seconds per bag)
This is your step-by-step workflow for unboxing gift bags. It keeps the tissue crisp, the ribbon neat, and the product perfectly centred. In other words: engineered for the “ta-da” moment.
- Build the base (if your bag doesn't come with it)
- Drop in a cardboard base or a folded kraft sheet (in the same colour family as the bag) to level the bottom.
- For fragile items, add a light bed of plastic-free paper shred under the base so items “sit up” instead of sinking.
- Wrap the product
Tissue paper for gift bags:
- 17–22gsm for a soft crinkle. 28–30gsm for a sharper, more tailored crease.
- Wrap once, tape once.
- For bottles: spiral wrap and tuck the base.
- For jewellery boxes: wrap it like a book jacket for clean edges.
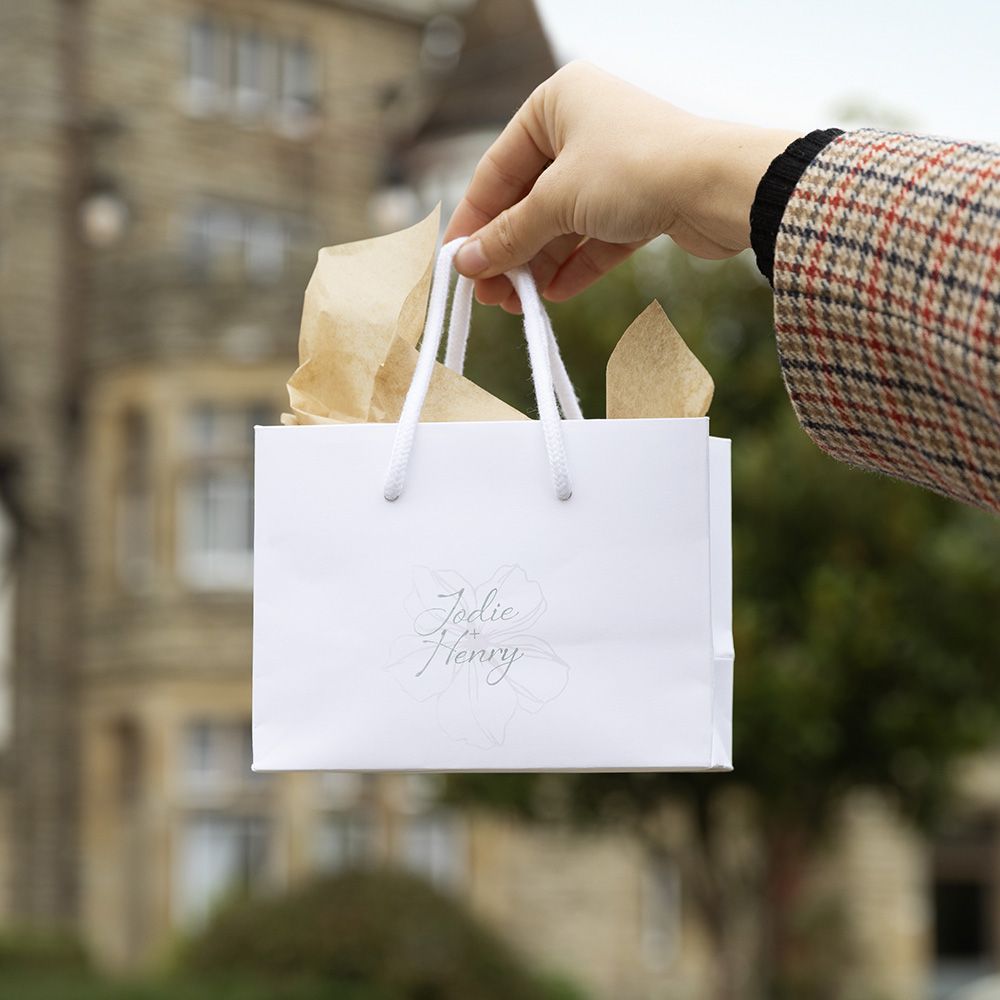
- Fan and float the tissue
- Make a circle with your fingers , and gentle push the sheet of tissue into them creating fanned edges and a point, pop the tissue point into the bag, leaving the fanned edges in diamond-style so the points rise ~8–10cm above the rim.
- This adds height, depth, and those elegant shadows that make everything look instantly more premium on camera.
- Place and suspend
- Position the wrapped item upright and central.
- For fragile pieces: add a second ring of shredded paper around the sides so it’s lightly held in place and won’t drop out mid-reveal.
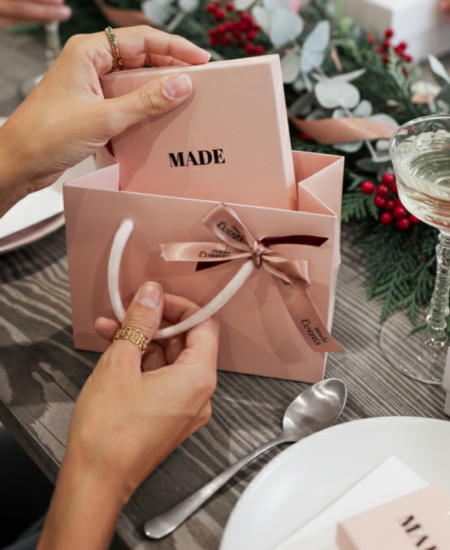
- Finish with ribbon
- Use 10-16mm double-satin or grosgrain. Thread through the handles and tie a flat bow.
- Trim the ends at a neat 45° angle. If your luxury gift bags already have ribbon handles, swap the bow for a smart hang-tag instead.
One action: Order some samples to test sizes, tissues, and ribbons.
.
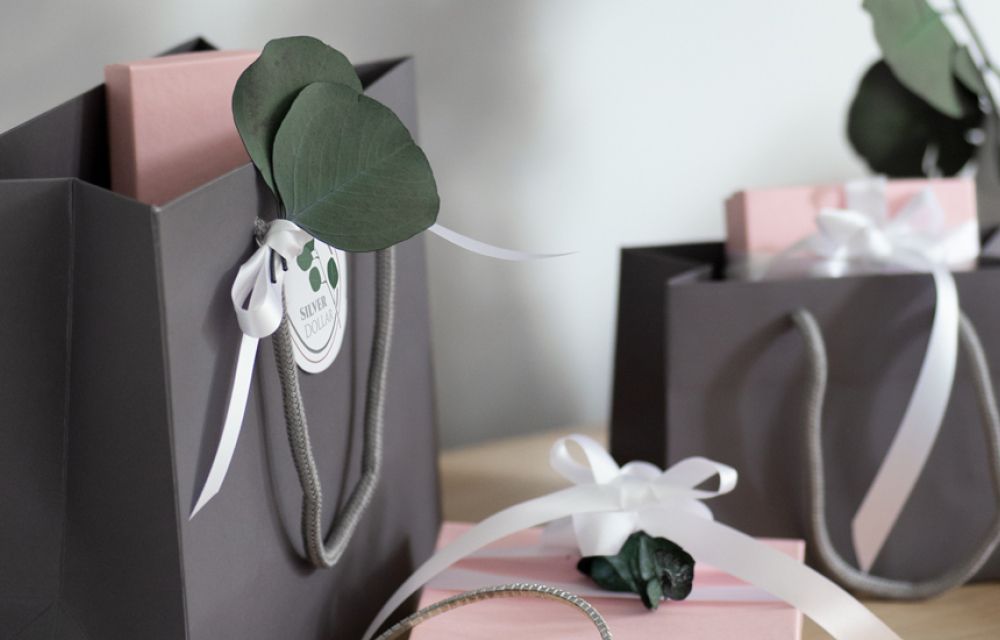
Colour pairings that always look expensive
Keep it simple: bag, tissue, ribbon = two colours maximum (with a metallic accent only if needed).
- Monochrome luxe: Black bag + white tissue + black satin ribbon.
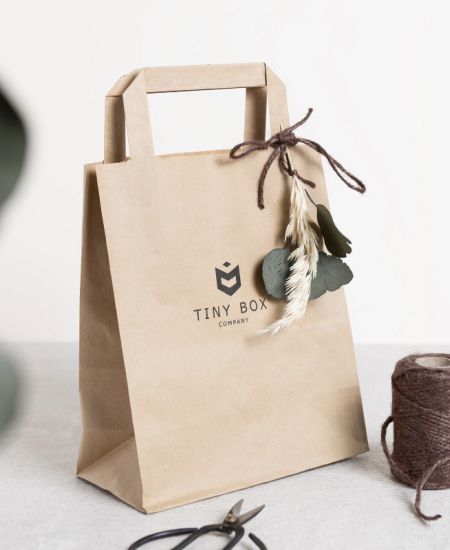
- Soft craft: Natural kraft + sage tissue + ivory grosgrain.
- Seasonal sparkle: Deep red bag + white tissue + red ribbon (luxury Christmas gift bags without the glitter overload).
Need exact matches across runs?
See our guide to keeping colours consistent with Pantone and CMYK
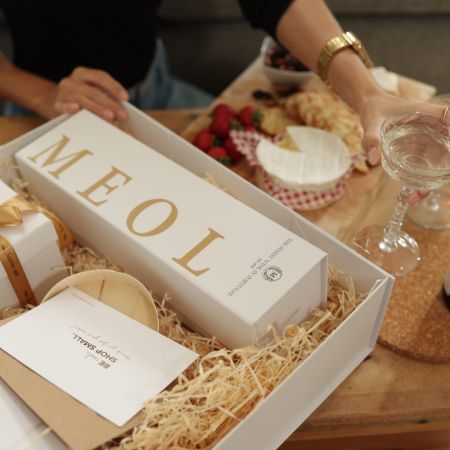
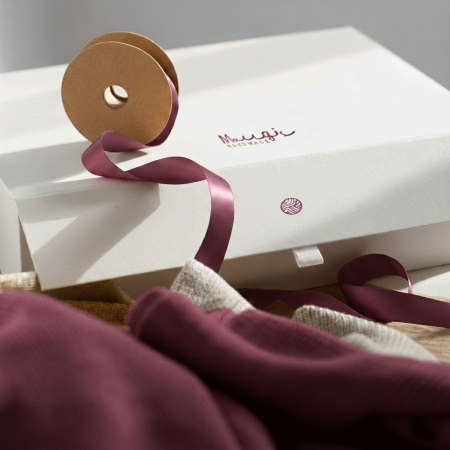
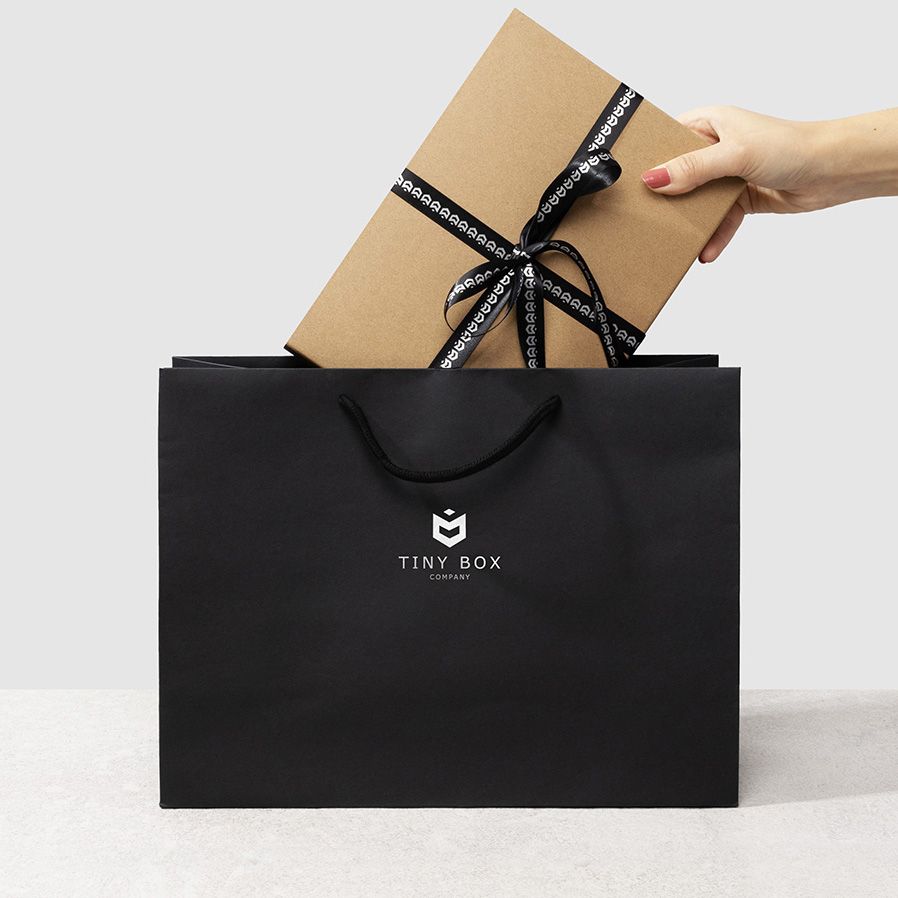
Materials that feel premium (and why they matter)
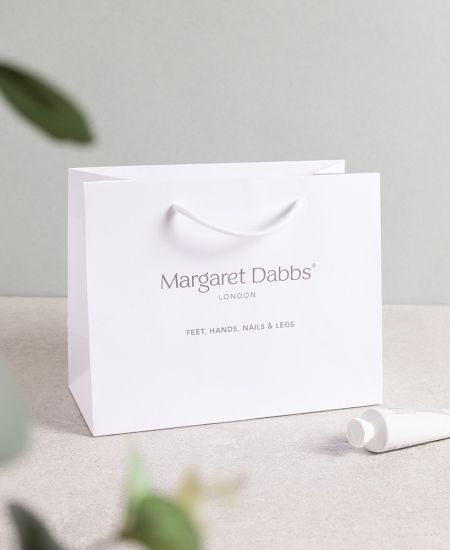
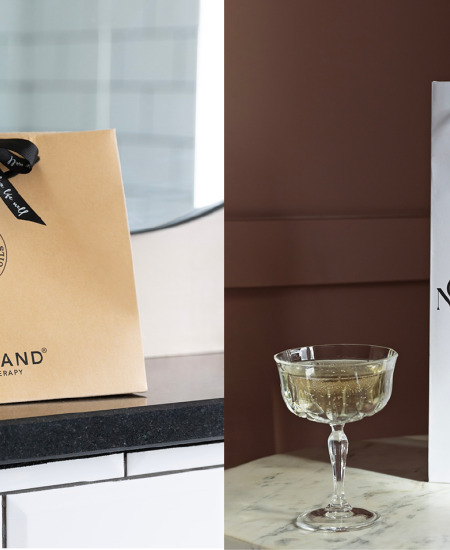
- Luxury paper gift bags: With a reinforced base to give clean lines and sharp edges in photos.
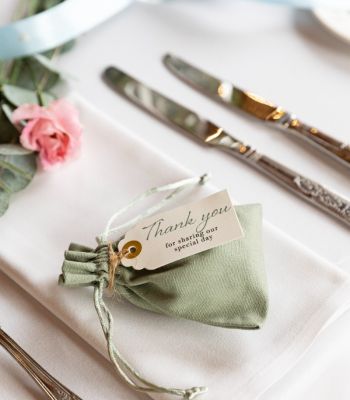
- Handles: Twisted paper = simple and recyclable. Ribbon/Rope handles = elevated feel.
- Tissue: Acid-free to protect textiles and jewellery.
- Ribbons: Double-satin for shine, grosgrain for soft texture and better grip (great bows that mean business).
Looking for trade-friendly pricing?
Explore luxury gift bags wholesale UK options on our category page.
How to pack fragile items (without ruining the reveal)
- Glass/ceramics: Flexi-Hex wrap → Shredded paper → place upright → add a light top sheet.
- Candles: Leave lids on; seat in a snug shred nest to avoid that dreaded heavy “thunk” when moved.
- Jewellery: Wrap the inner box and use a small riser (corrugated off-cuts) underneath to bring the items to mid-height for an easy, elegant reveal.
Photographing your gift-bag unboxing (so it trends, not tanks)
- Angles: Front three-quarter and top-down. Keep the bag logo or tag in frame and visible.
- Height: Tissue 8-10cm above the rim; ribbon tails around 10-12cm.
- Light: Natural window light, side-lit, with a white card bounce on the opposite side.
- Backdrop: Neutral board or timber. Avoid busy marble and loud patterns that fight the product.
- Shot list: Before (flat), after (finished bag), open reveal (hands parting tissue), detail (bow + tag).
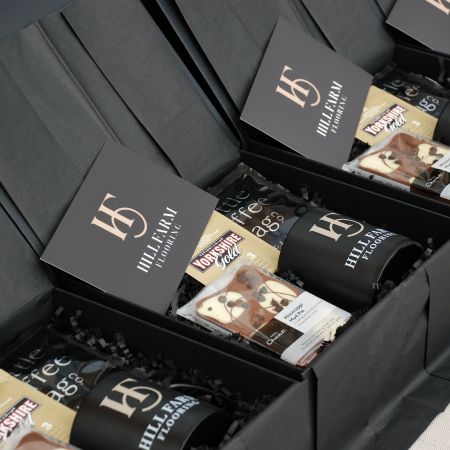
Make it look expensive on a small budget (good/better/best)
Good (lowest cost, quick)
- Kraft bag + white tissue + black paper tag.
- Add one satin ribbon tail tied to a handle.
- Time: ~30s per bag.
Better (most SMEs choose)
- Matte, coloured luxury gift bag + matching tissue + grosgrain bow.
- Consider custom luxury gift bags with your logo for repeat buyers.
- Time: ~60–90s per bag.
Best (premium feel)
- Rope-handle bag + duplex tissue (two-tone) + foil printed tag.
- Add a small thank-you card inside.
- Time: ~45s per bag.
Sizes that fit popular products
- Candles (30-60cl): Small-medium bag, 140-180mm high; add a 3cm shredded paper.
- Jewellery: Extra-small to small; keep the inner box near the rim for an easy “lift and reveal”.
- Bottles (wine/spirit): Tall bottle bag; spiral wrap the neck, and seat the base on a folded kraft pad.
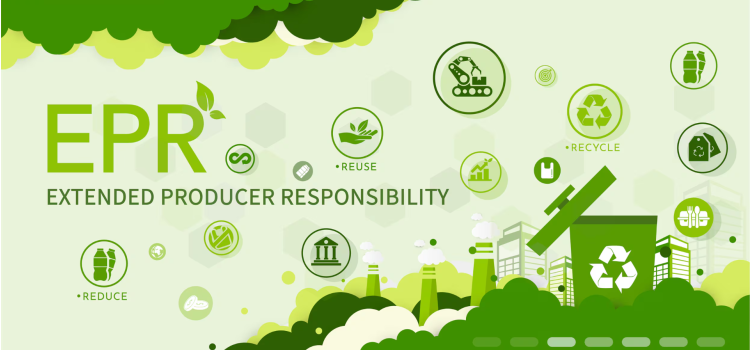
Sustainability, simplified
- Bags: Choose FSC-certified/recyclable paper options and remove any magnets or mixed materials before recycling.
- Tissue: Paper-only, acid-free; reuse first wherever possible, or it can go in paper recycling if it’s clean and dry.
- Ribbon: Re-use is best; if you need plastic-free, opt for paper raffia or cotton tape.
- Labelling: Add a small “Reuse or Recycle” note on your tag to help guide your customers to more sustainable practices.
Set up your packing bench for speed
- Left to right flow: Empty bag → base card → pre-fanned tissue stack → shred → product → tag/ribbon.
- Pre-assembly: Fan tissue in batches of 10, pre-cut ribbon to 60-70cm, and keep tags threaded.
- Storage: Stand made-up bags in a crate with a loose sheet of tissue over the top to prevent dust and crumpling.
Quick fixes to common concerns
- "My tissue looks crumpled": Use heavier 28-30gsm tissue, pre-fan, and handle by the corners only.
- "My colours clash": Stick to two colours; match the ribbon to the bag, and use tissue as contrast.
- "My bows collapse": Switch to double faced satin for a fluffy bow, or a grosgrain for a more sturdier approach.

When to upgrade to branded or bespoke
If you’re re-ordering monthly, launching a seasonal line, or gifting to press or wholesale buyers, it’s time to explore luxury branded gift bags (hot foil, digital full colour) or custom luxury gift bags (Pantone-matched paper, printed ribbon).
Keep your colour system consistent.
See our Pantone and CYMK guide.